Setting up a C++ Programming Environment
Setting Up a C++ Programming Environment
When writing documents, most people use word processors like Microsoft Word or Google Docs. While these tools offer various stylistic options that make the text visually appealing for humans, they are not suitable for programming. Computers do not interpret formatting or visual styles; they only process the plain text commands provided within a file. Additionally, traditional word processors lack the essential tools required for programming. To write and execute code using such editors, you would need to rely on several additional programs, creating a fragmented workflow. Similarly, older coding methods, such as command-line text editors like EMACS or VIM, often require running multiple supplementary tools to accomplish the same tasks.
To simplify and streamline the programming process, Integrated Development Environments (IDEs) were created. An IDE is a software application that combines all the necessary tools for software development into one centralized platform. Using an IDE allows developers to write, test, debug, and manage code more efficiently. The main features of an IDE include:
- Code Editor: A specialized text editor designed for programming, equipped with syntax highlighting, code completion, and error detection to assist with writing code.
- Terminal: A built-in interface for executing system commands and interacting directly with the operating system.
- Compiler/Interpreter: Converts high-level source code into machine-readable code (binary) or executes it directly, depending on the programming language.
- Debugger: A tool for identifying and fixing errors in the code by enabling developers to step through the program, set breakpoints, and inspect variable states.
- Version Control Integration: Provides tools to manage code changes, track revisions, and collaborate with others, often integrating with version control systems like Git.
There are numerous IDEs available, but this blog will focus on using Visual Studio Code (VSC). Developed by Microsoft, Visual Studio Code is a lightweight and versatile IDE that supports programming in almost any language and works across all major operating systems. It is essential to distinguish Visual Studio Code from its more robust counterpart, Visual Studio. While Visual Studio is a feature-rich, paid IDE tailored for large-scale development, Visual Studio Code is free, accessible, and perfectly suited for learning to program.
You can download Visual Studio Code here. After downloading, run the installation to get started.
Next Steps: Installing the GCC Compiler
In order to turn high-level C++ code into machine code a computer can read a compiler will be needed (explained in a later post). Installing a compiler is different based on your machine.
For macOS you must:
-
Install the GCC compiler
-
Use the terminal/compiler in VSC
For Windows you must:
-
Install the Windows Subsystem for Linux (WSL)
-
Install the GCC compiler to the WSL
-
Use the WSL/compiler in VSC
These processes are shown below. The macOS install is rather straight forward and should give no errors. If you are having trouble on Windows see the common errors section at the end.
Installing GCC Compiler (MacOS)
Open a new terminal window (Spotlight search (command+space) for terminal). Enter the command: xcode-select --install:

Wait for the prompt The command requires the command line developer tools. Would you like to install the tools now? and select Install:

Wait for the installation to complete (will take a few minutes). The install can be verified using the command g++ --version which should produce a message stating the version number (message will be OS dependent).
Using the Terminal/Compiler In VSC (macOS)
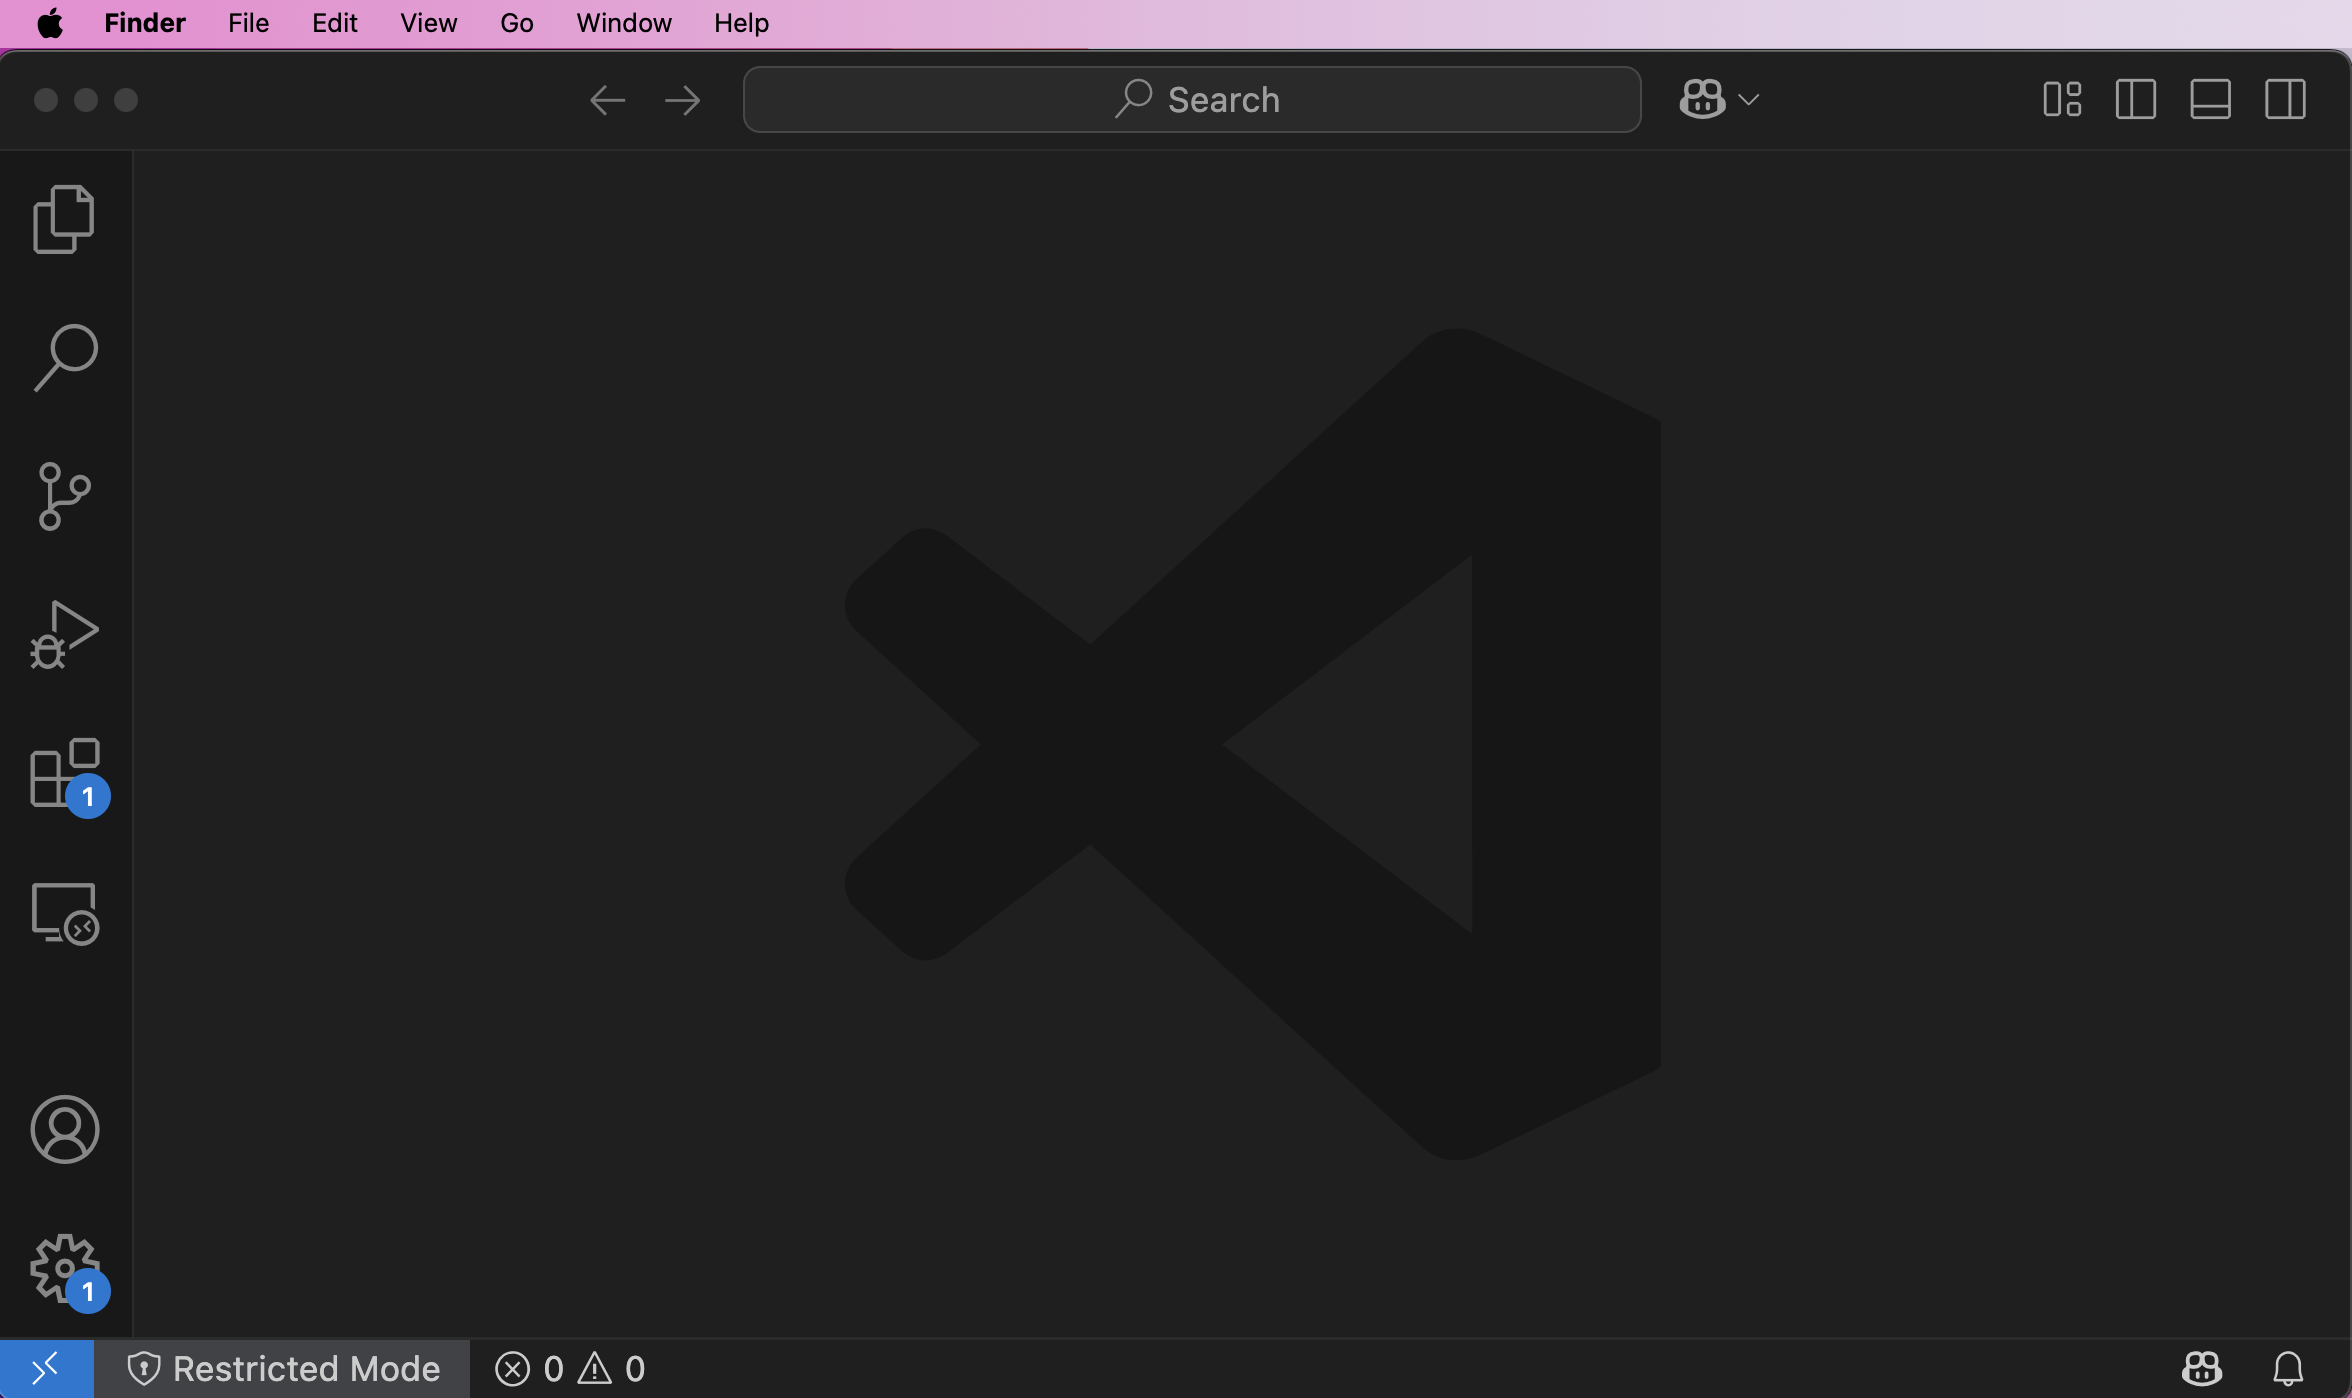
Open a new VSC window:
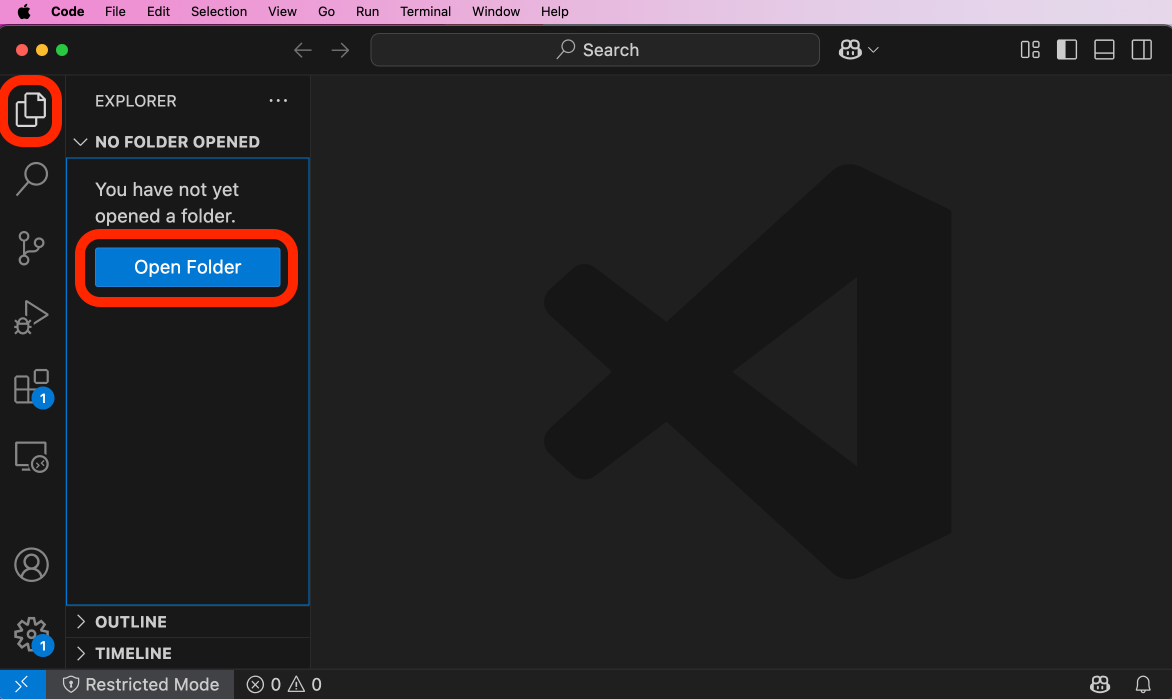
Open a directory into VSC by clicking the two files icon in the top left, then clicking Open Folder and navigating to/opening a folder in the explorer that opens (optionally a folder can be dragged into the window):
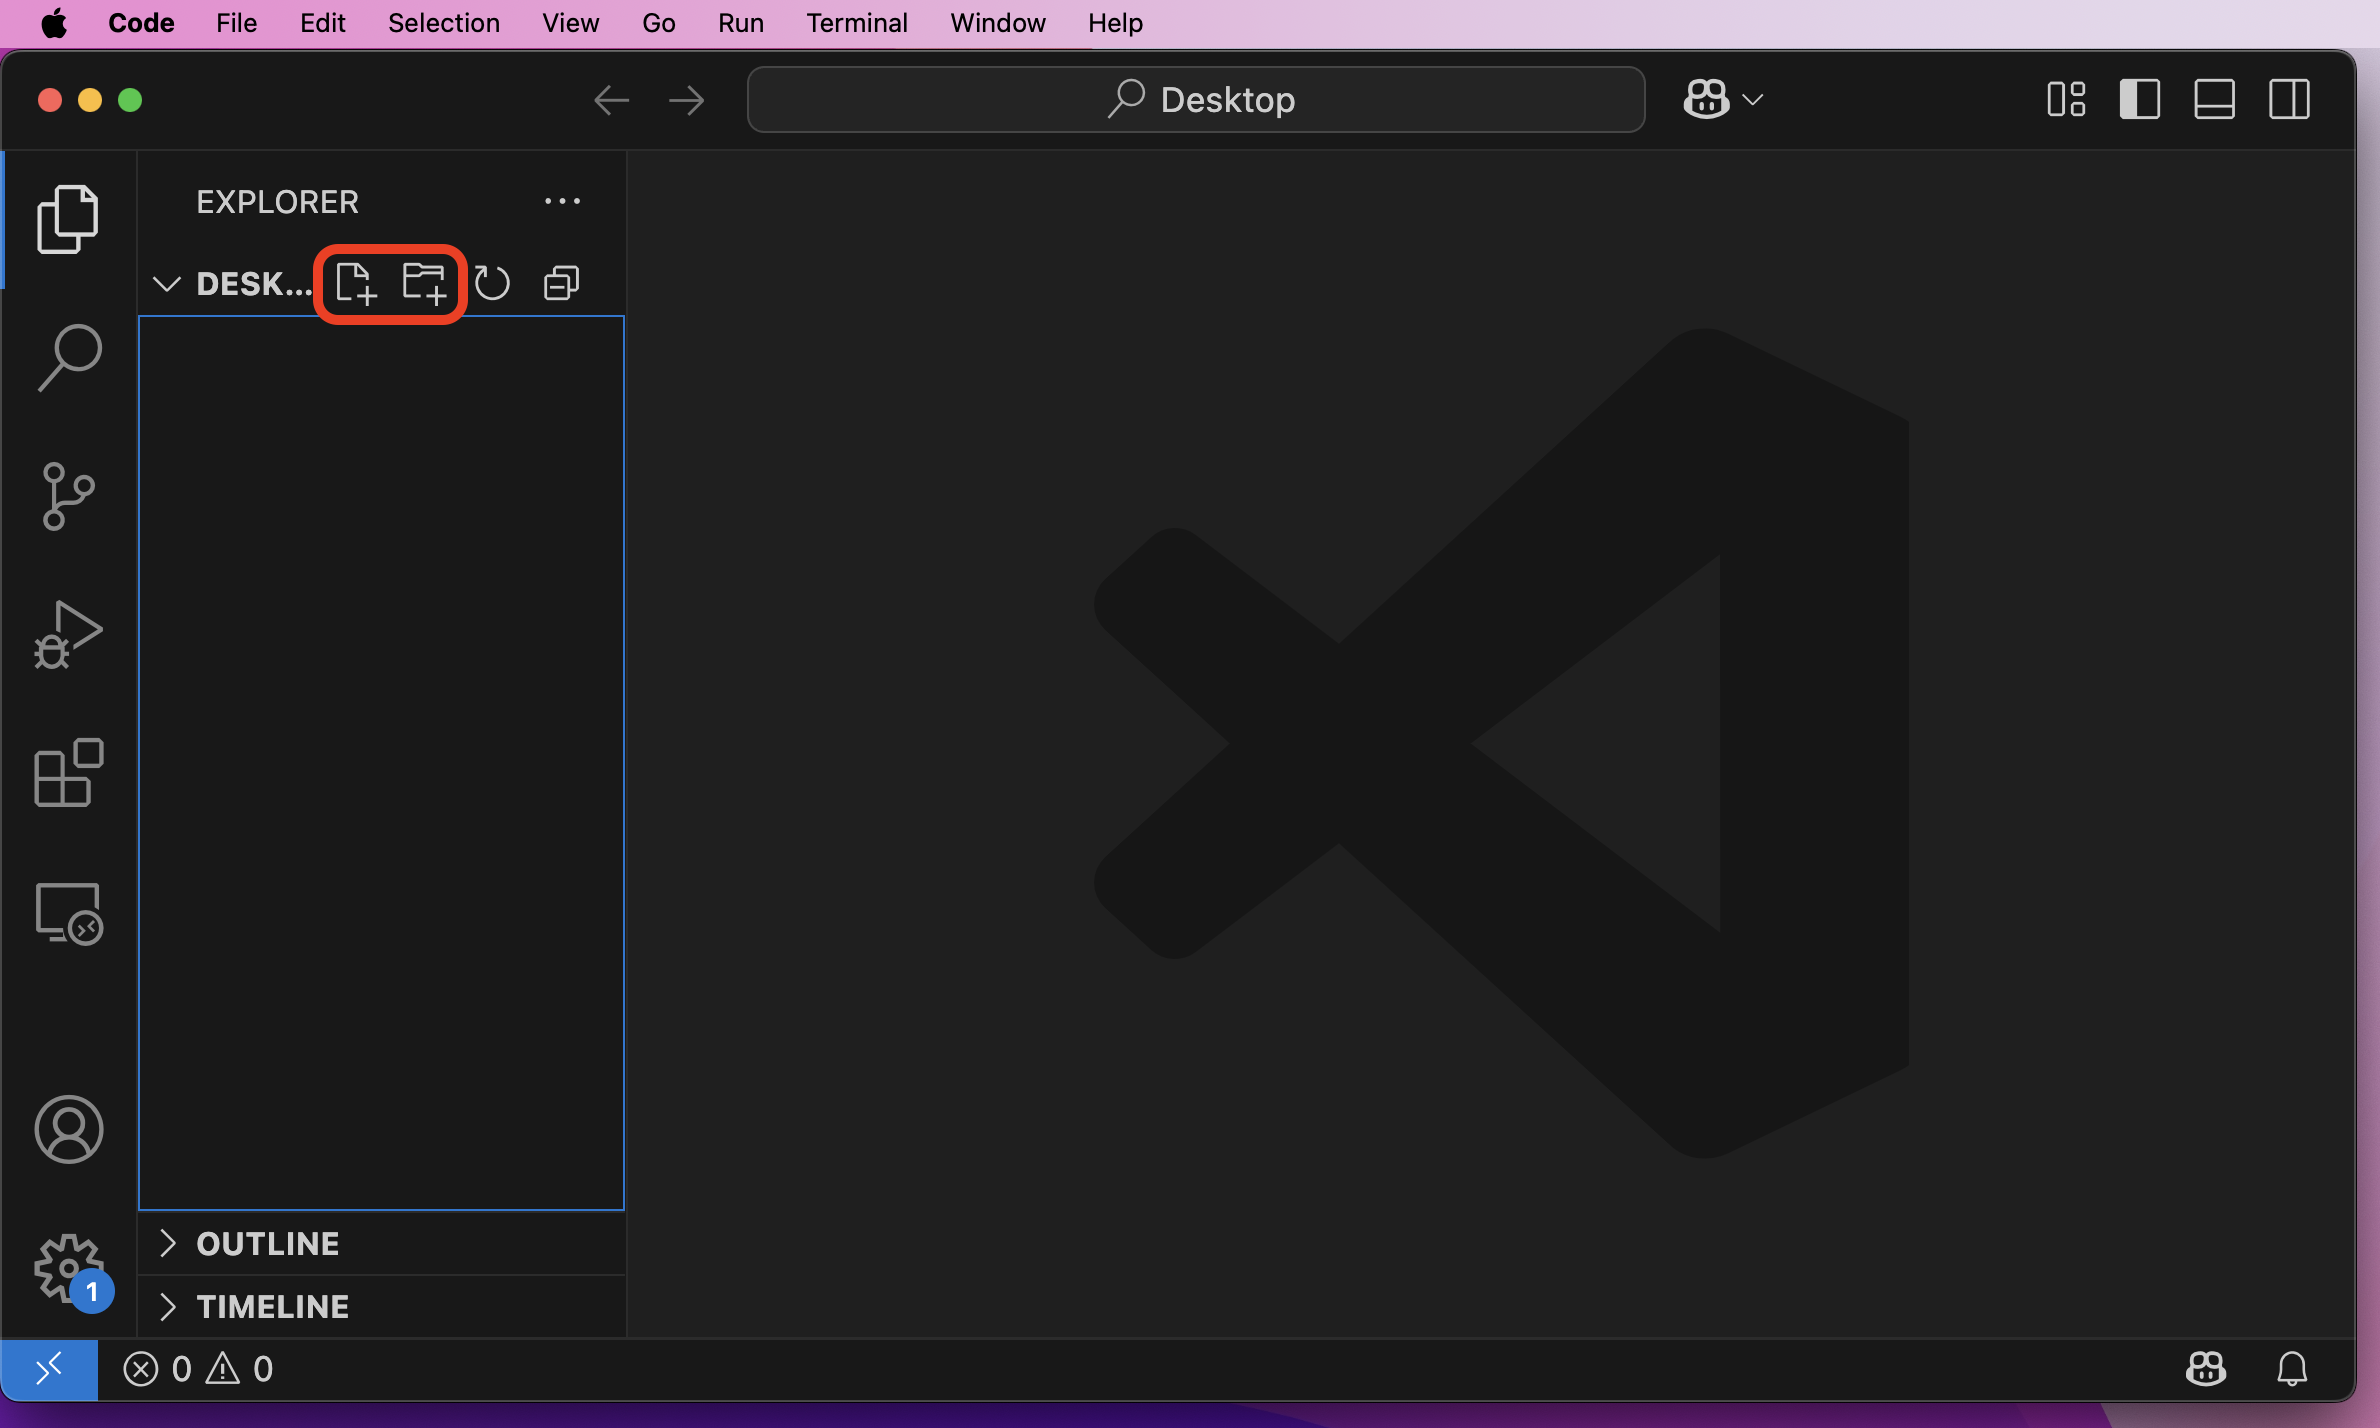
New files and directories can be added to the current working directory using the buttons at the top of the explorer:
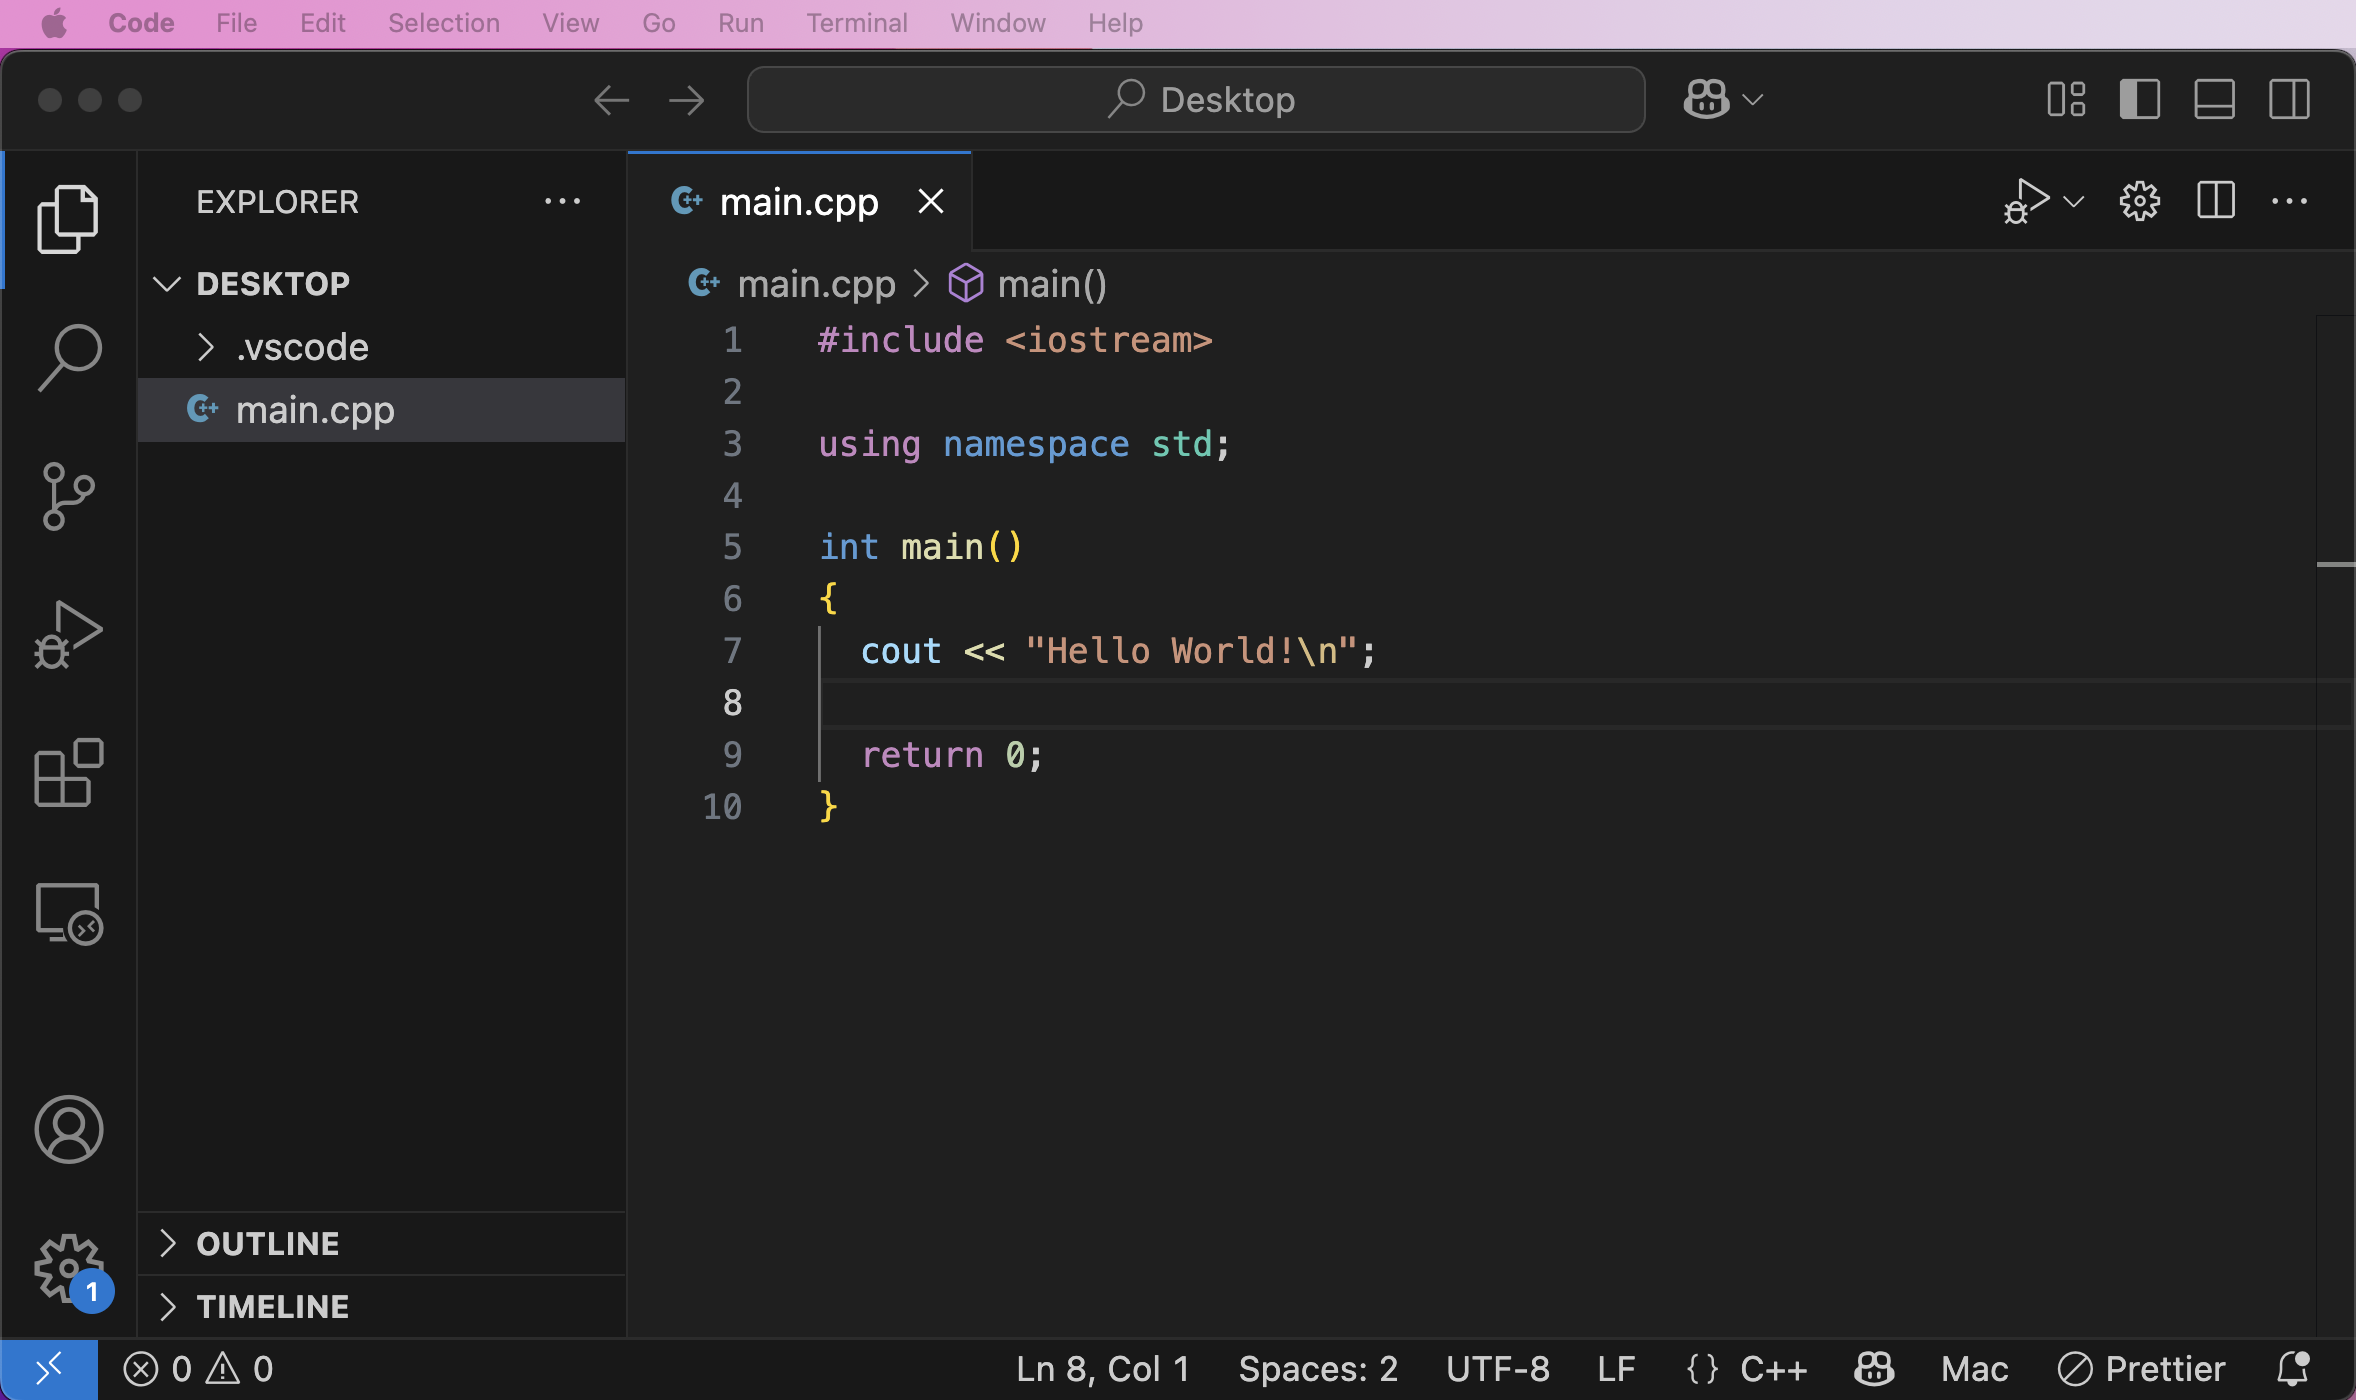
Add a file named main.cpp by clicking the add file button and entering the filename main.cpp:
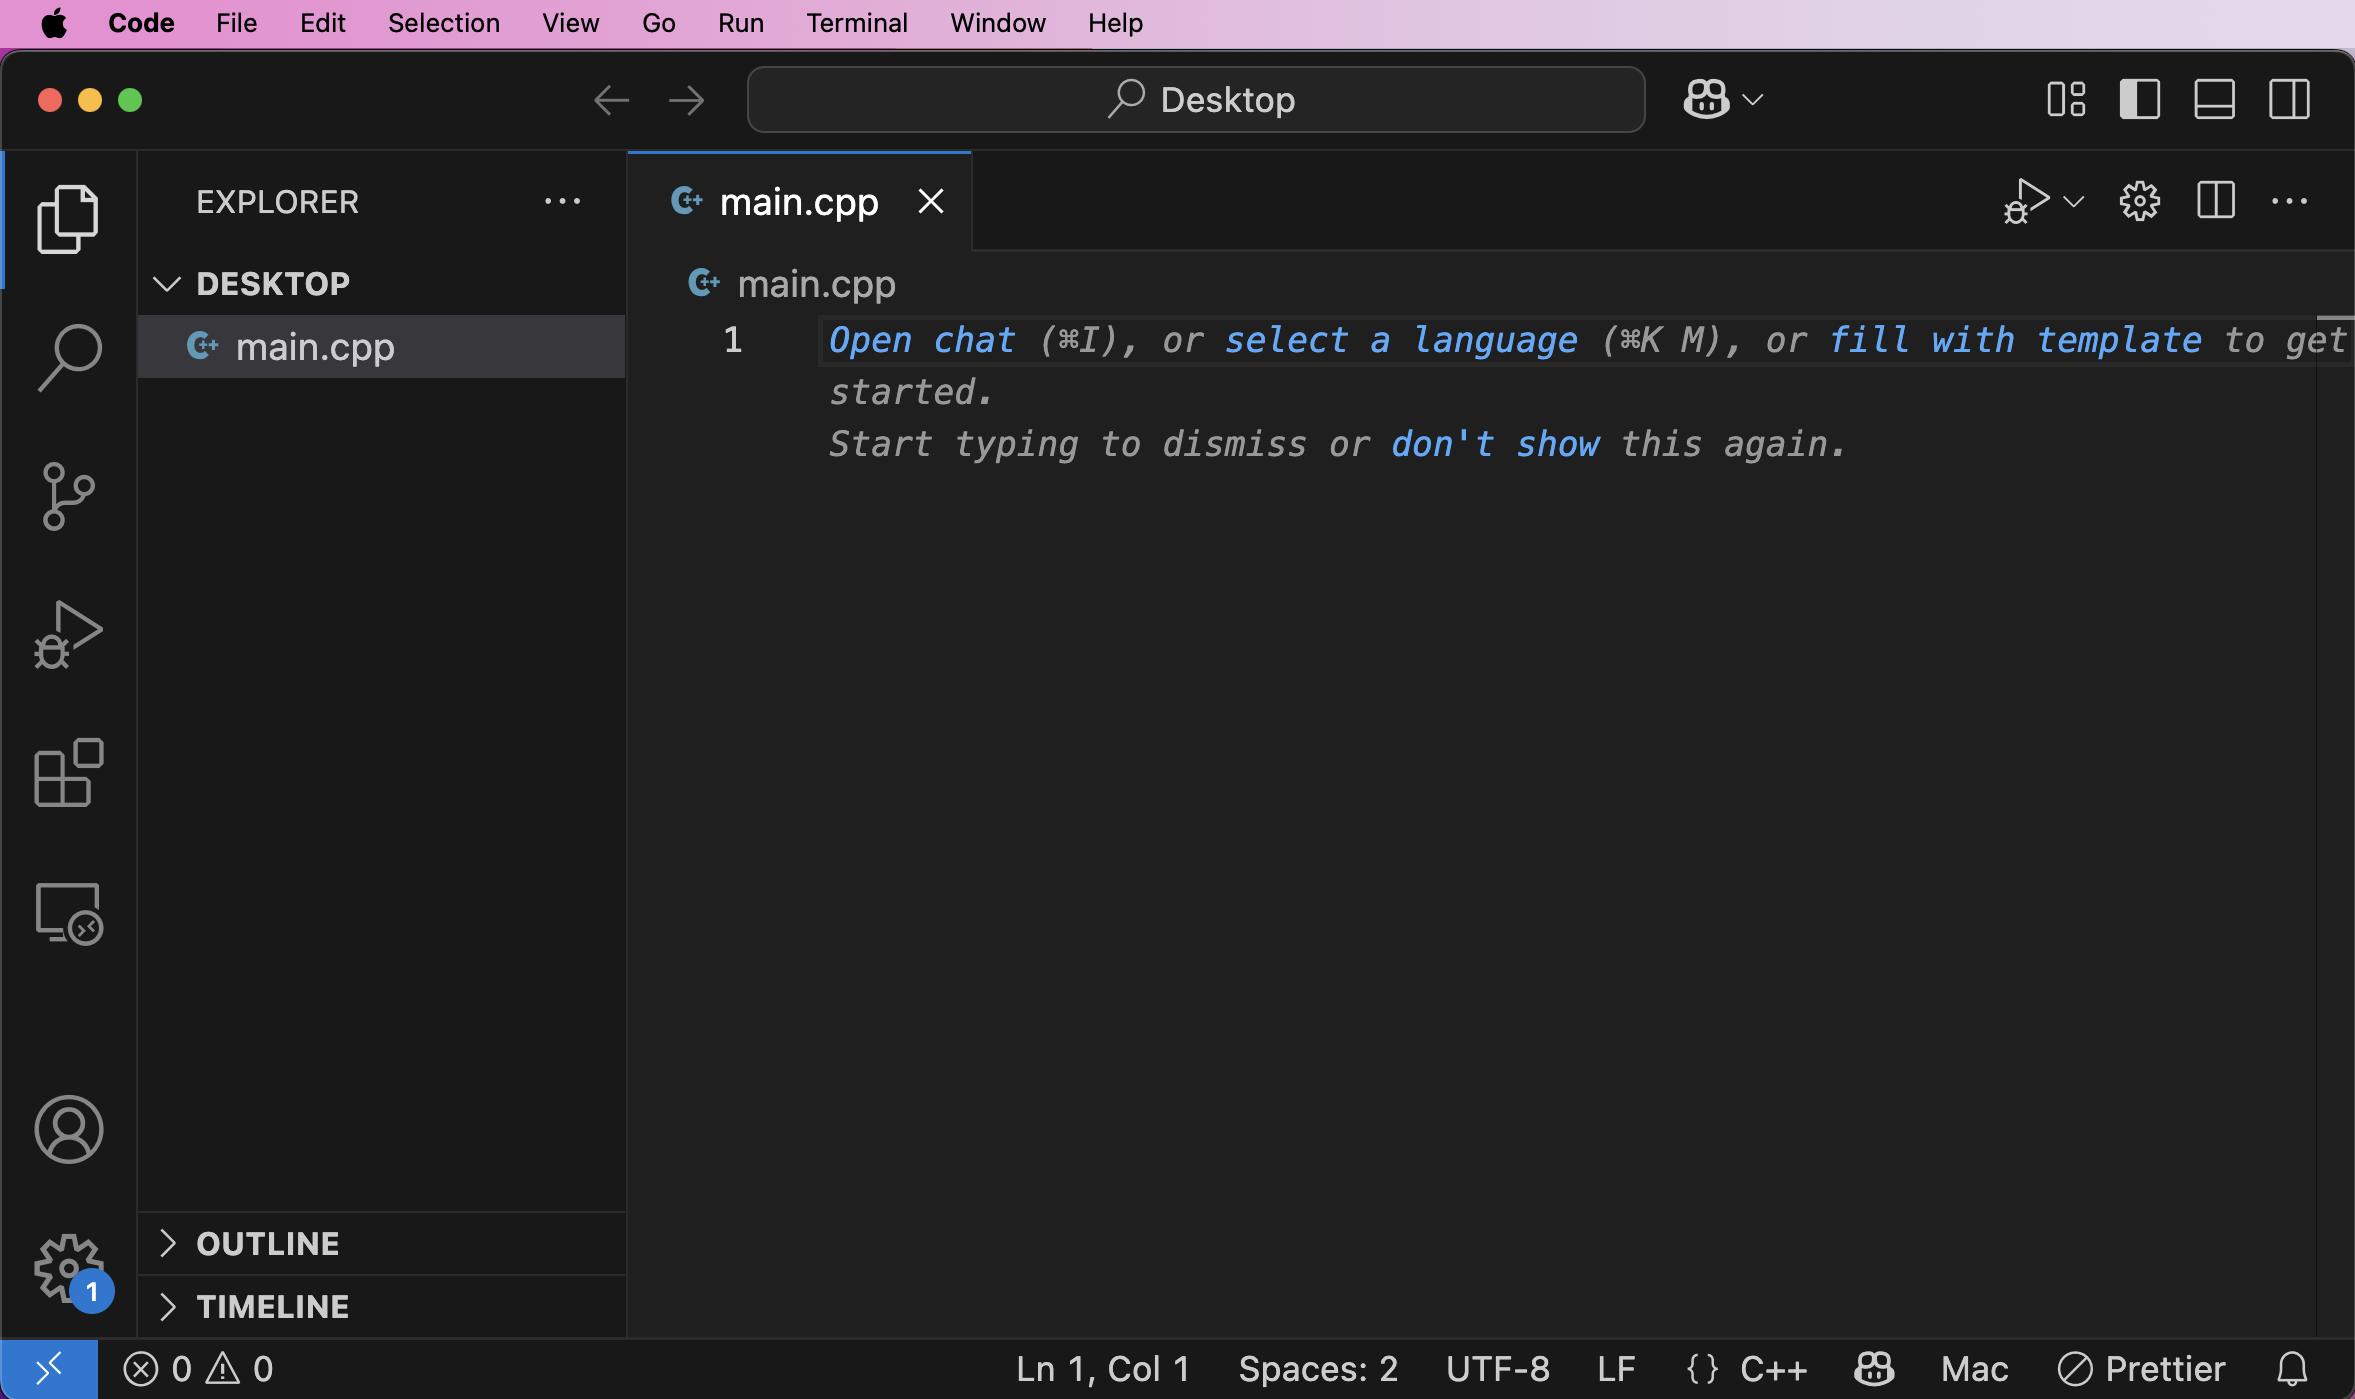
This will create the file and open it in the editor on the right. Add the following code to the file and save the file with command + S:
#include <iostream>

using namespace std;

int main()
{
    cout << "Hello World!\n";

    return 0;
}
In the menu bar click Terminal > New Terminal:
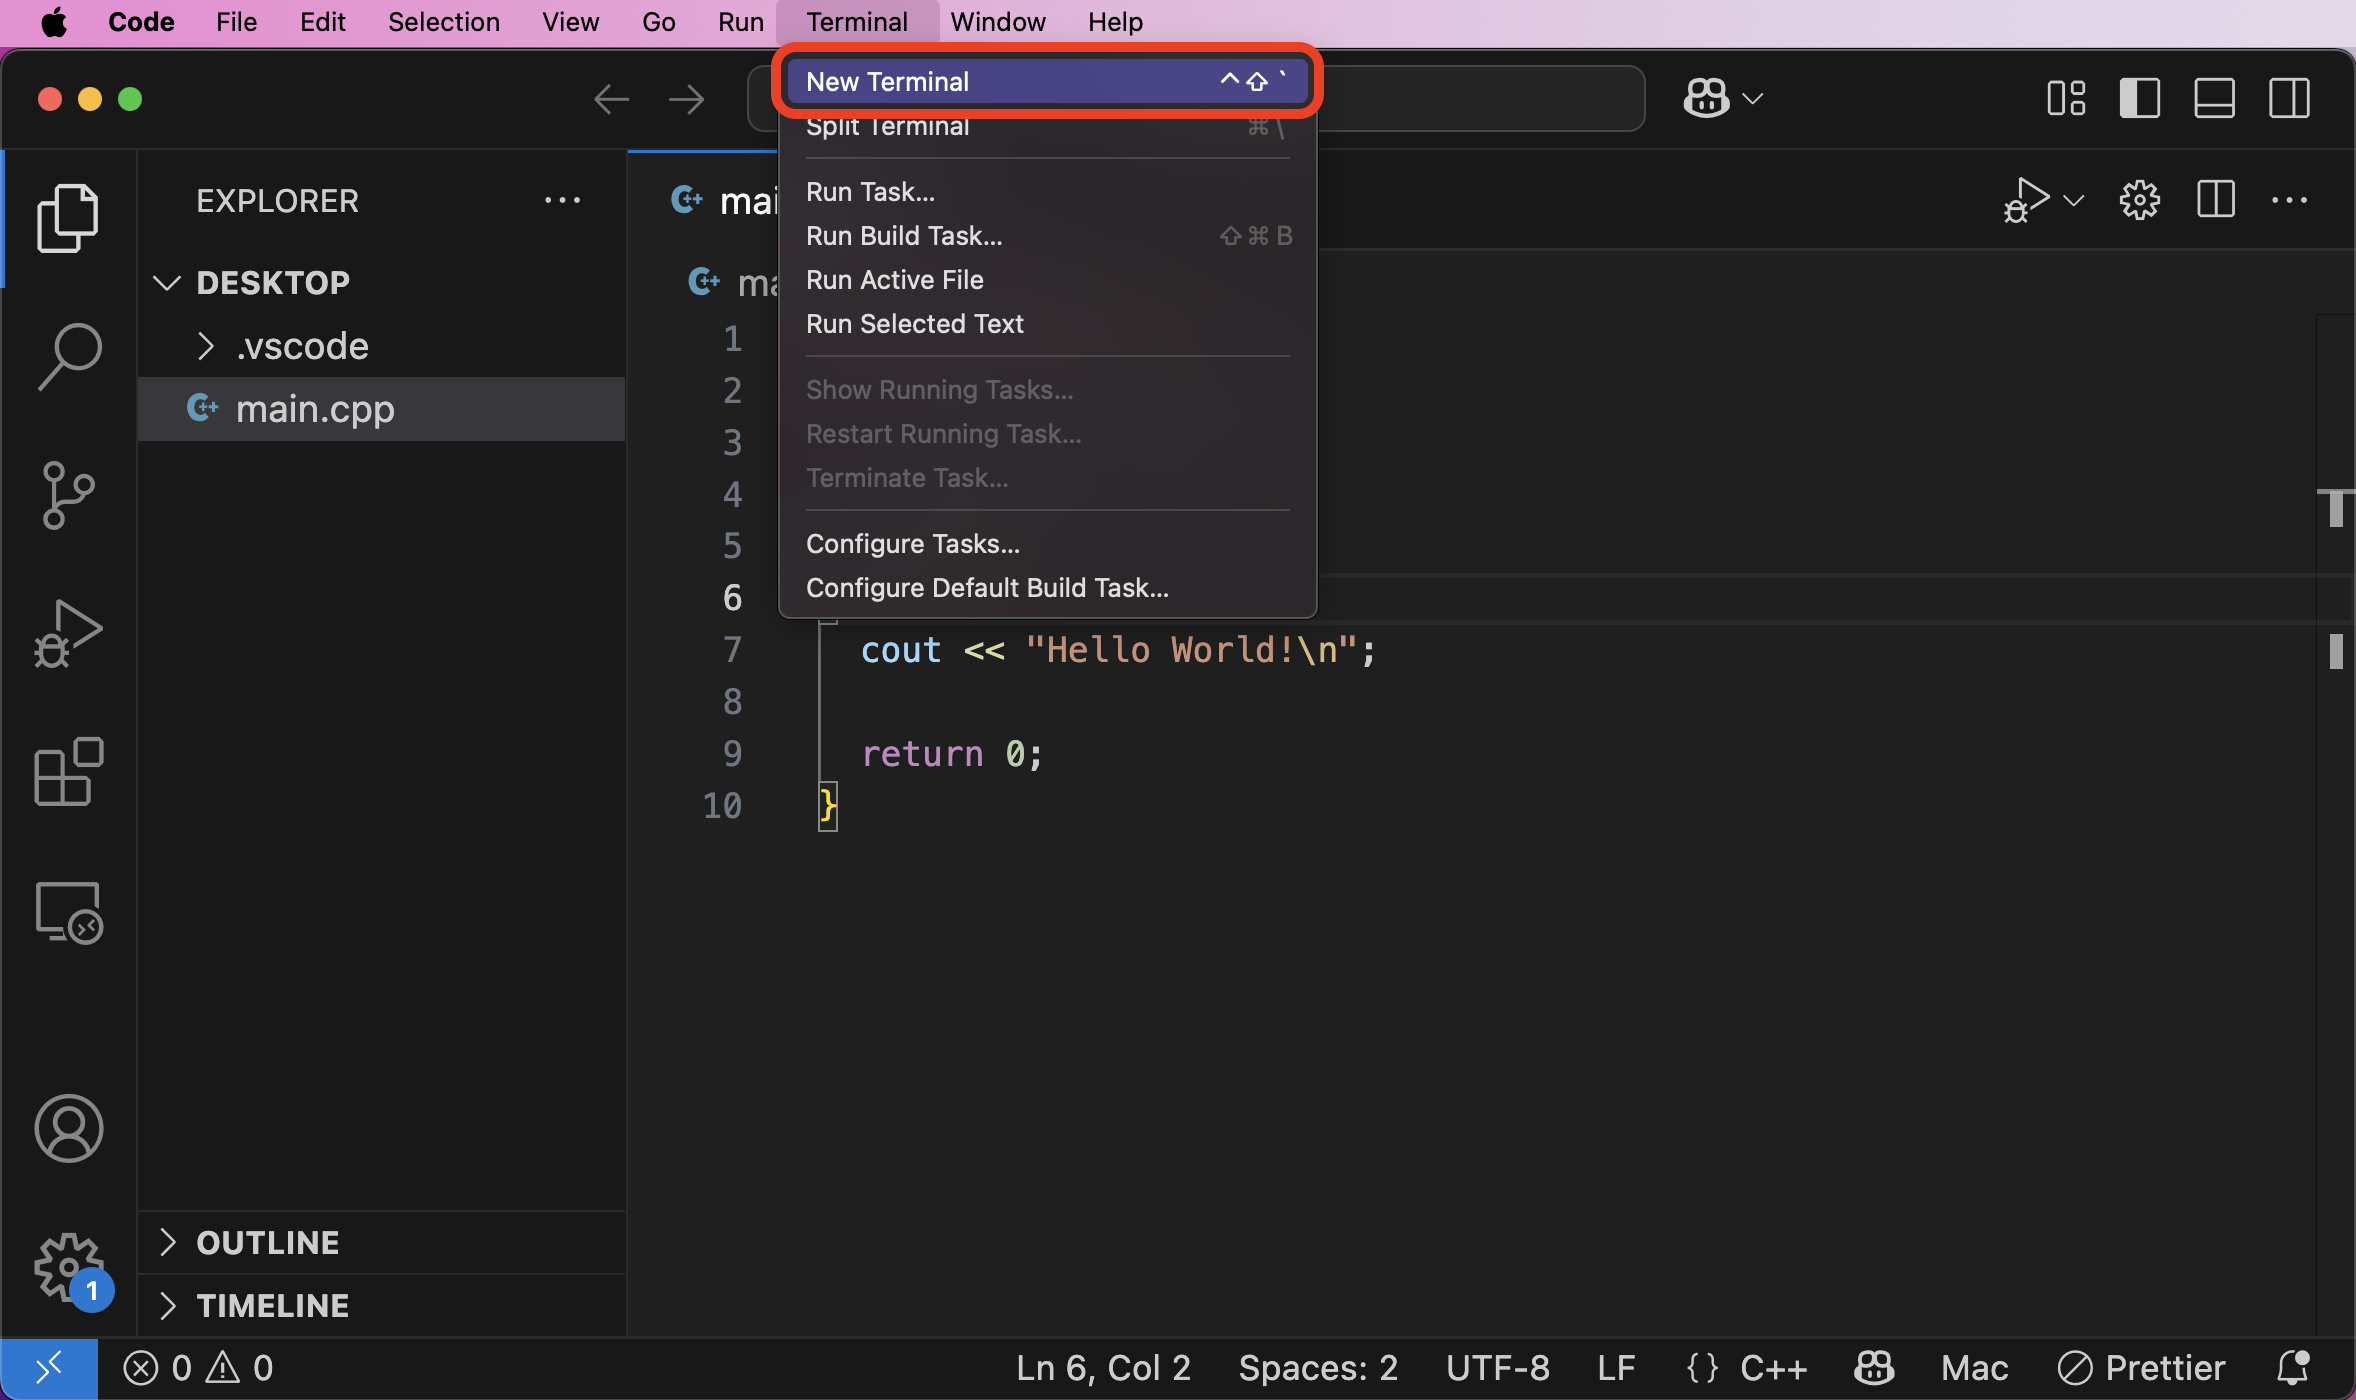
A new terminal window will pop up on the lower portion of the editor. This terminal is your system's terminal integrated into VSC. The terminal will already be opened at the directory opened in VSC:
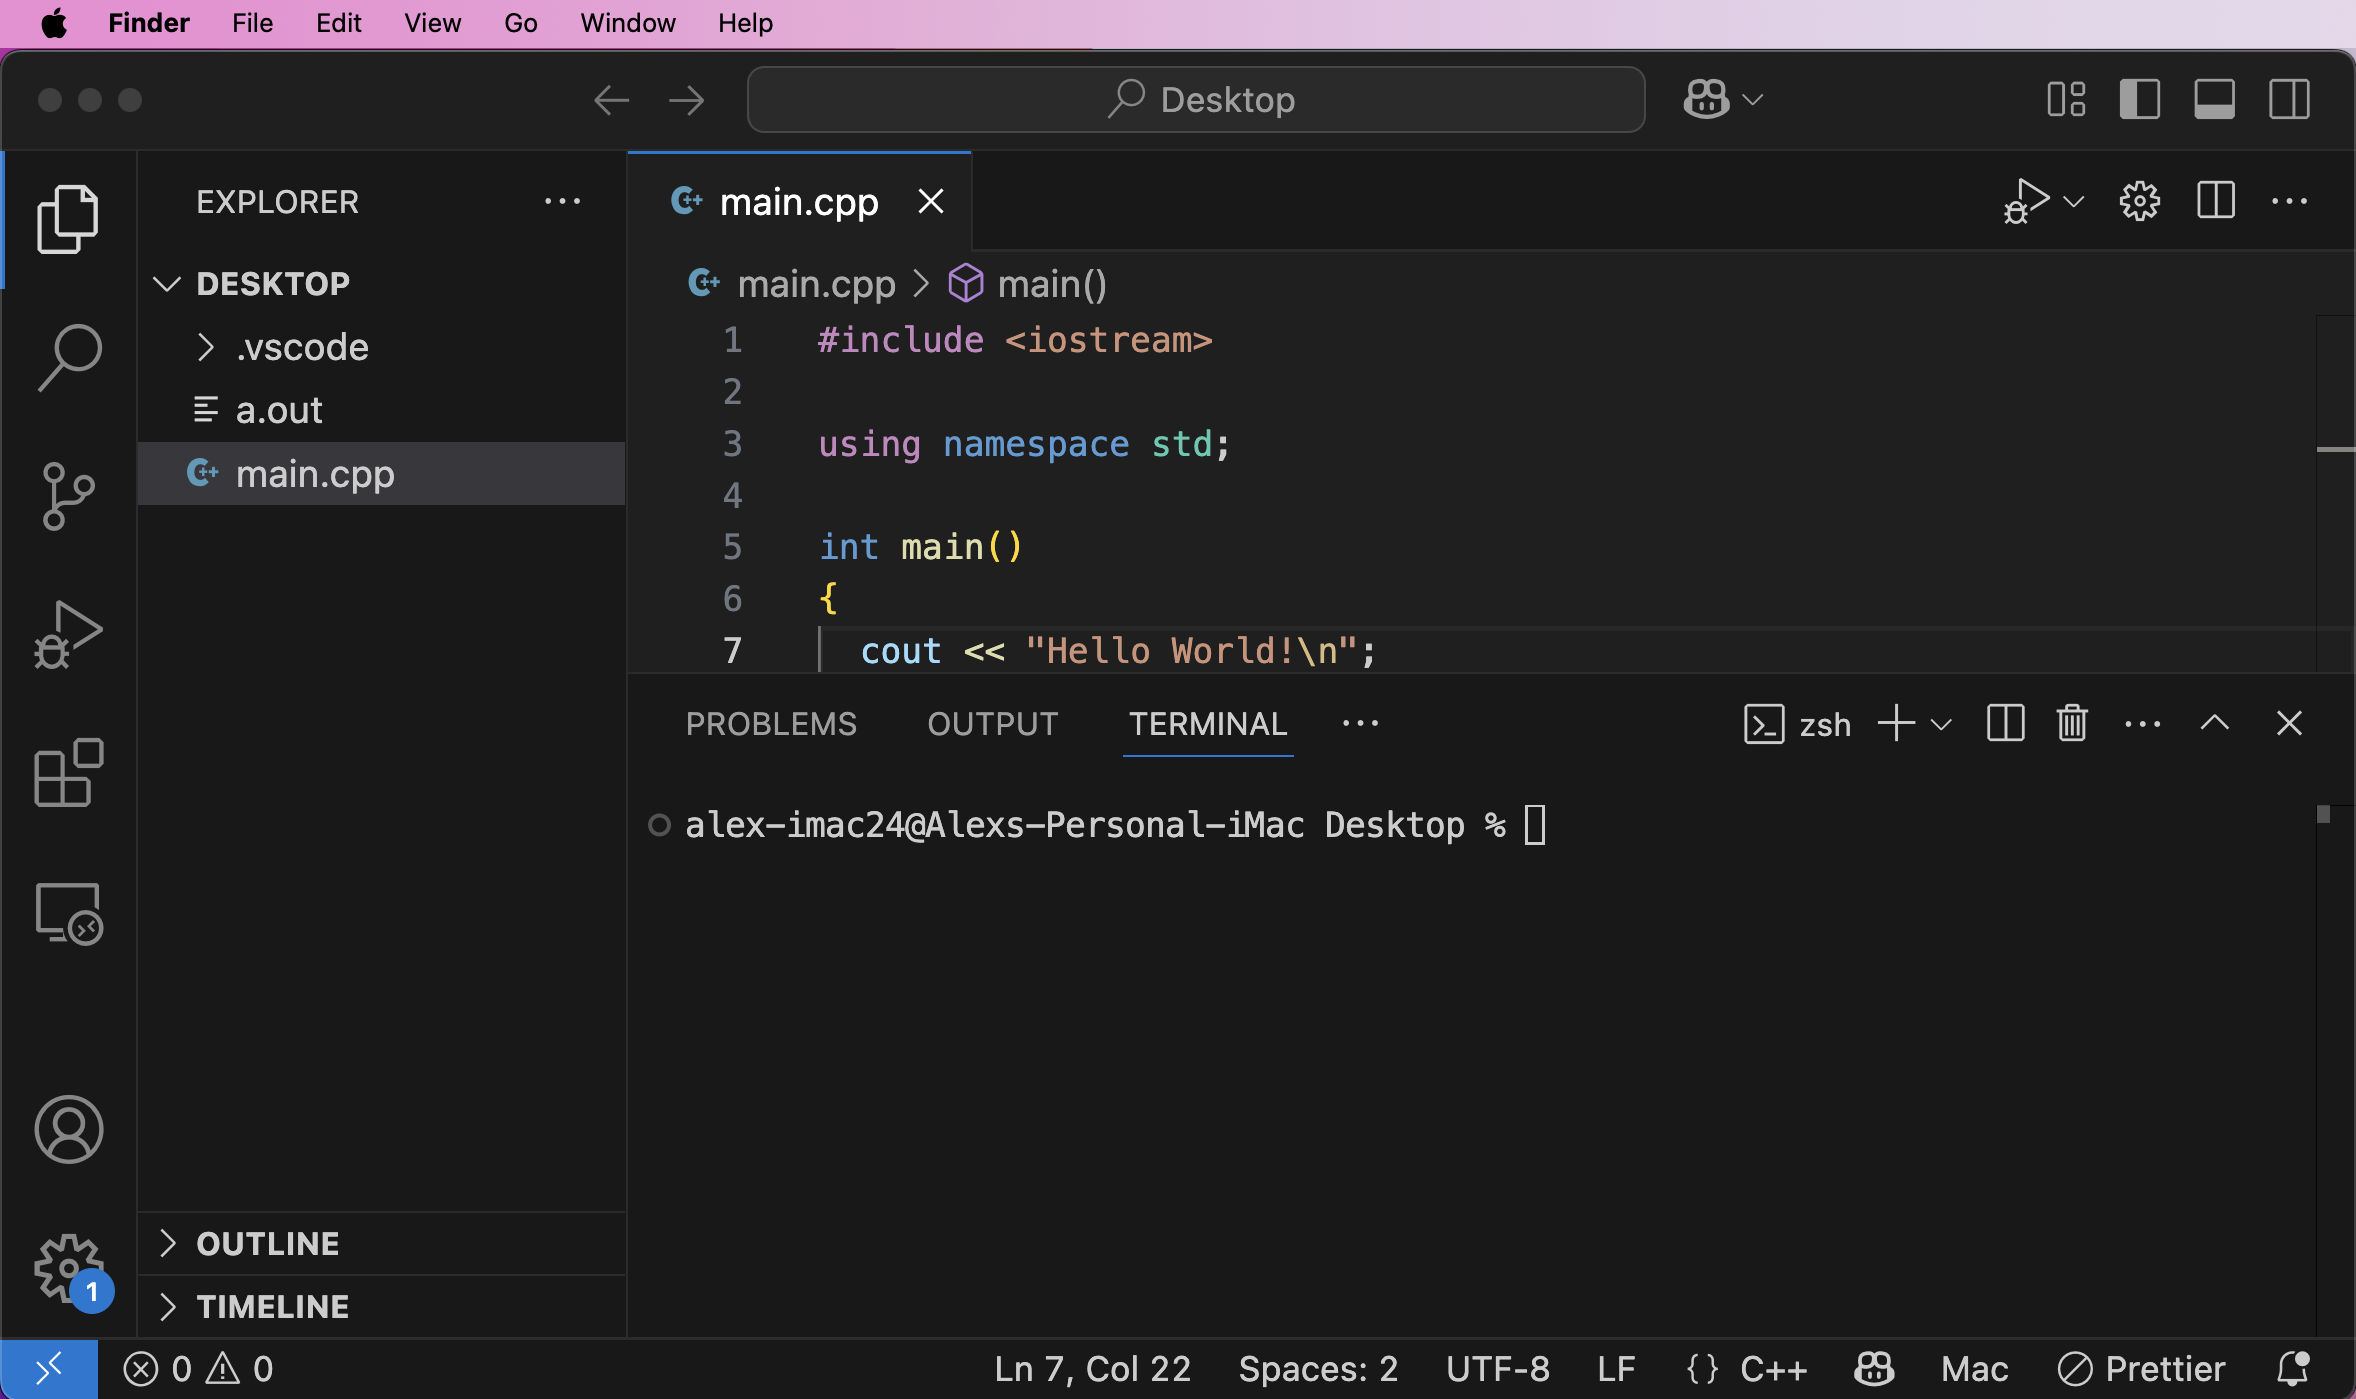
Enter g++ main.cpp, allow the program to compile then enter ./a.out and the program should output:
alex-imac24@Alexs-Personal-iMac Desktop % g++ main.cpp
alex-imac24@Alexs-Personal-iMac Desktop % ./a.out
Hello World!
alex-imac24@Alexs-Personal-iMac Desktop %
Installing the Windows Subsystem for Linux (WSL) (Windows)
Press the Windows Key + S on your keyboard, a search box will appear. Search for Command Prompt right click the command prompt icon and run as administrator.
You will be presented with the command prompt which should have something like 'C:\Users\USERNAME>' After the '>' is where you can type your commands, enter the command wsl --install and hit enter. The WSL will start to install, allow it to complete the install. You will know when it is done when you get a new command prompt waiting for input.

Once a command prompt is shown waiting for input we know the previous command is finished executing, and a new command can be entered. You can safely exit the command prompt at this point.
This will download and install the WSL to a Windows machine. You can open your newly installed subsystem by searching for Ubuntu which should yield a program with a logo similar to:
Run this program and it will begin to install any necessary tools:
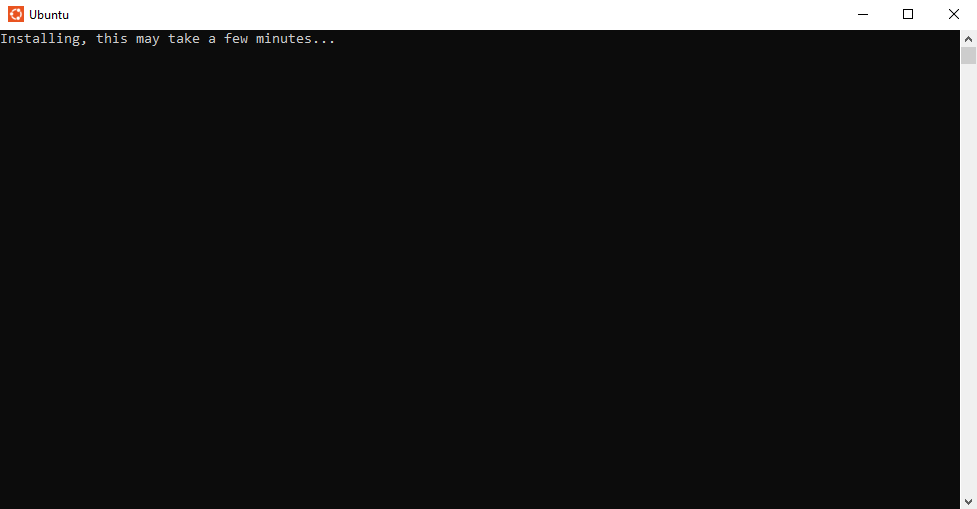
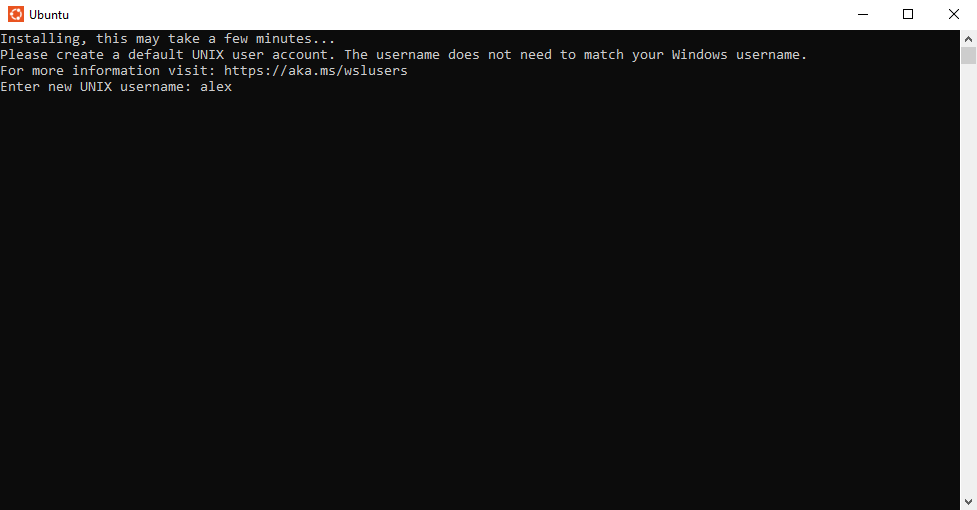
Allow the tools to install. Once they are installed you will be prompted to enter a new username:

Type in any new username you desire (can match your Windows username but does not have to):
Once your desired username is displayed hit Enter and the WSL will move on to choosing a password:
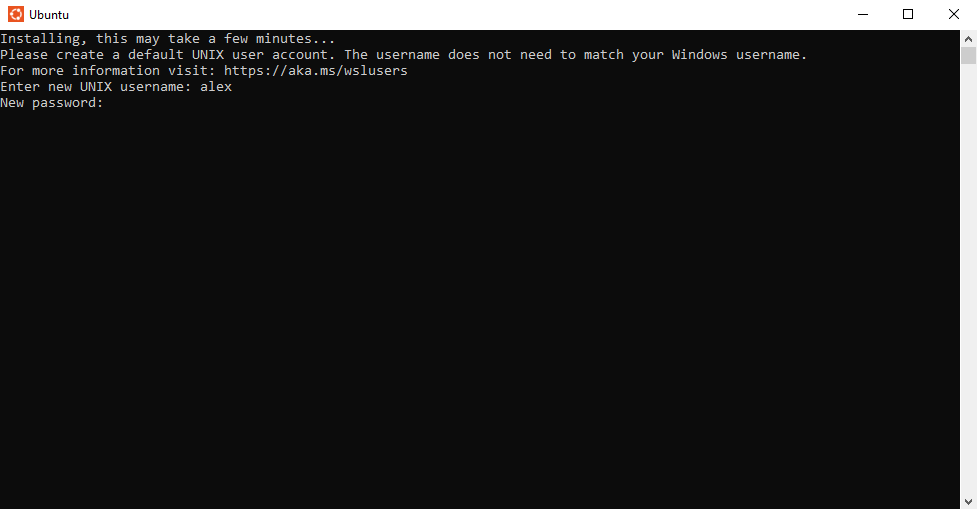
Type in your desired password. When you type the password field will not show you typing for security reasons. Just type your desired password and hit Enter (if you mess up spam Delete until you are confident you have deleted everything you typed). After hitting Enter you will be prompted to confirm your password:
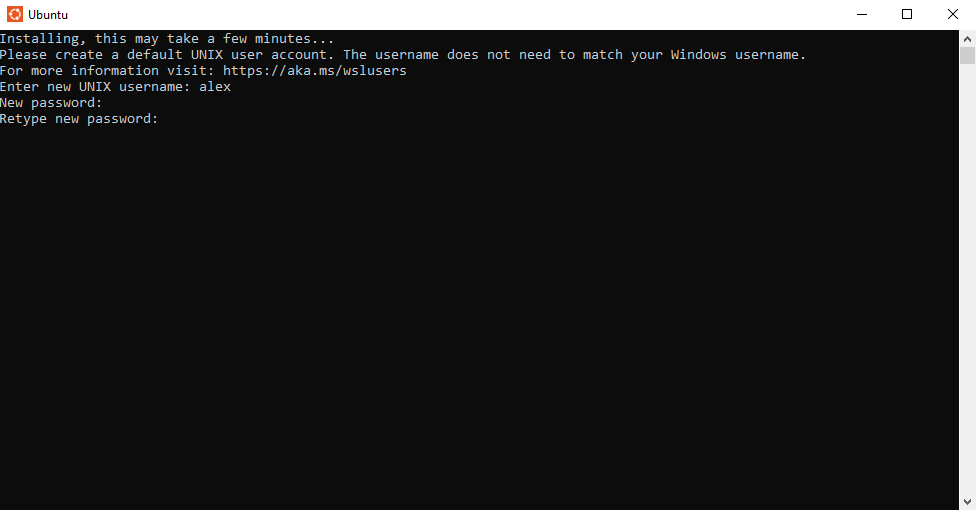
Retype your password and hit Enter. If both passwords match the install will complete and you will be shown an Ubuntu (Linux) terminal:
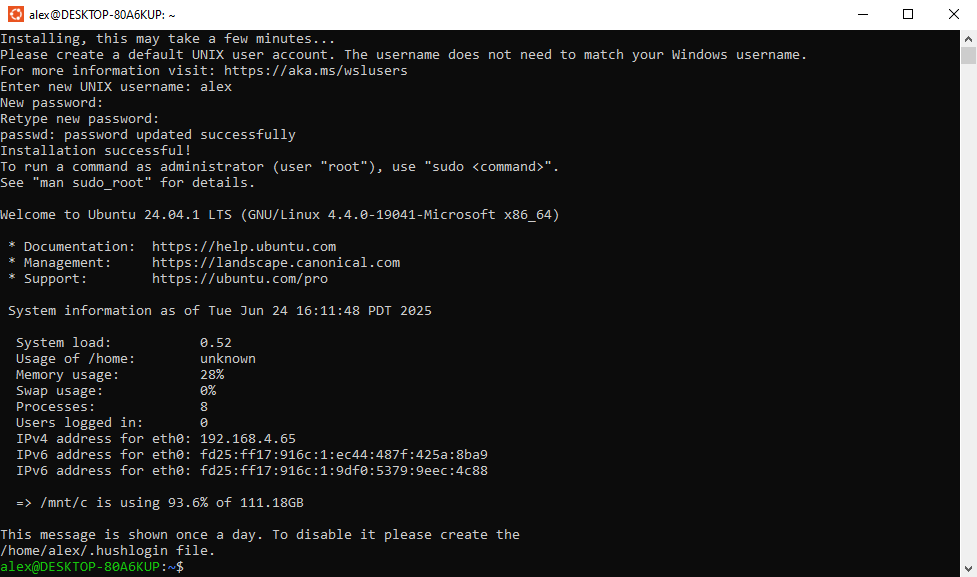
This terminal window can now be used for Unix commands:
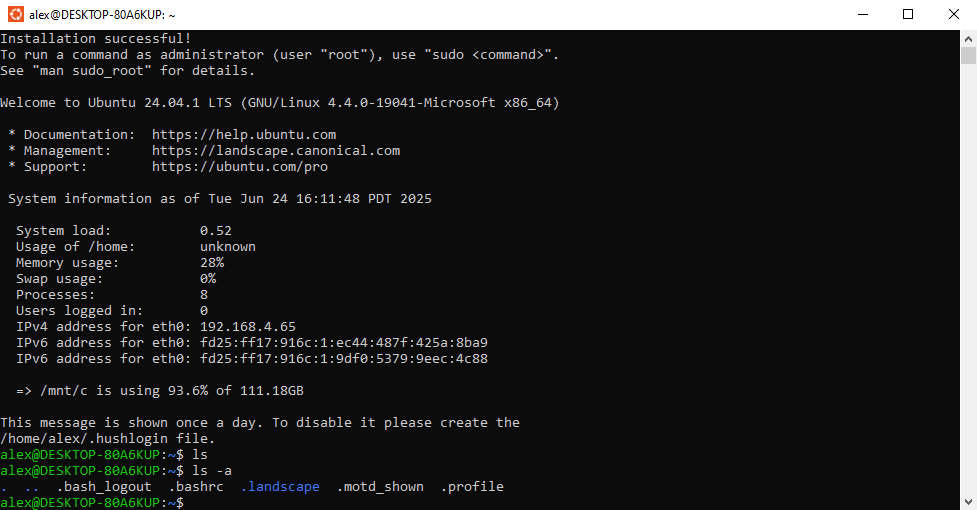
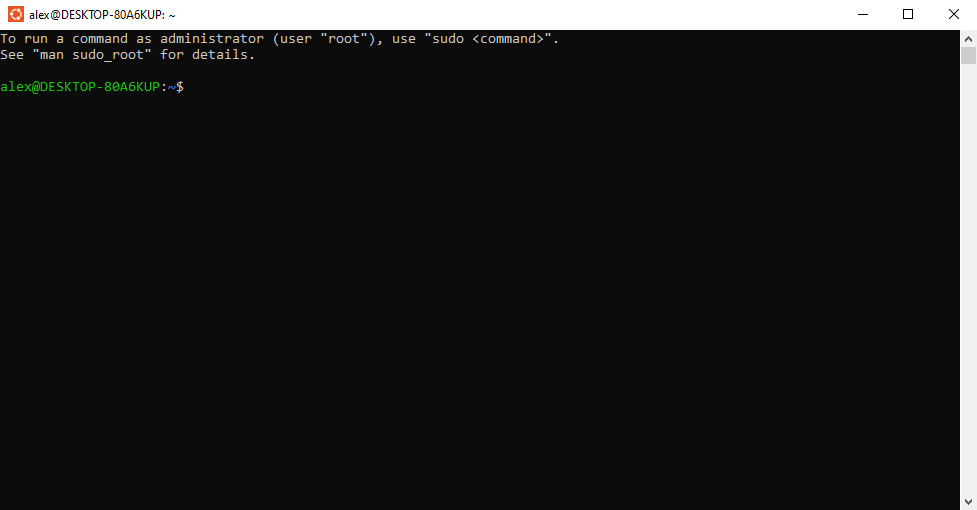
This window can now be closed. When Ubuntu is opened any time after the initial launch it will be set up and ready for a new command:
Installing GCC Compiler (WSL) (Windows)
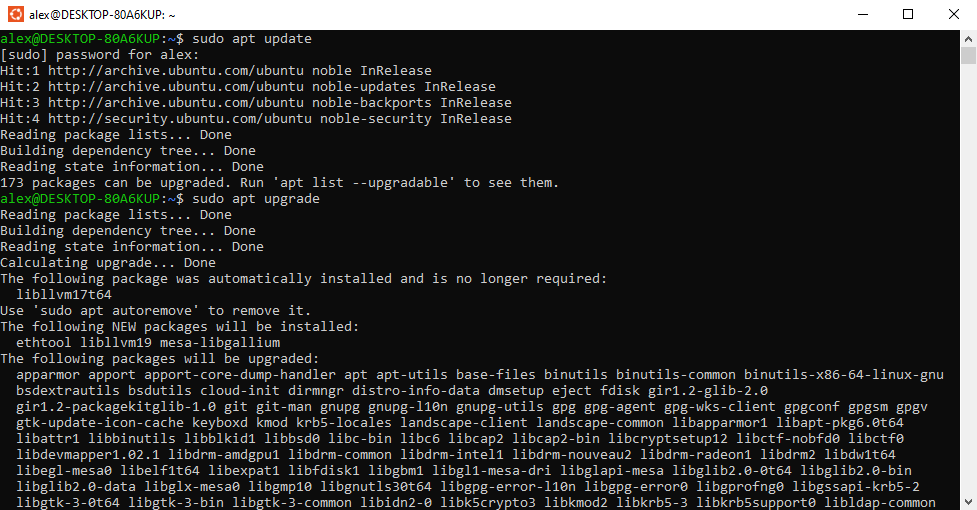
Open an Ubuntu terminal, enter the command sudo apt update, when prompted to enter your password, and you will see your list of packages and versions be updated (output varies):

Enter the command sudo apt upgrade -y and your packages will be upgraded:
Allow the upgrades to complete. Finally, enter the command sudo apt install g++ -y and allow the GCC compiler to install:
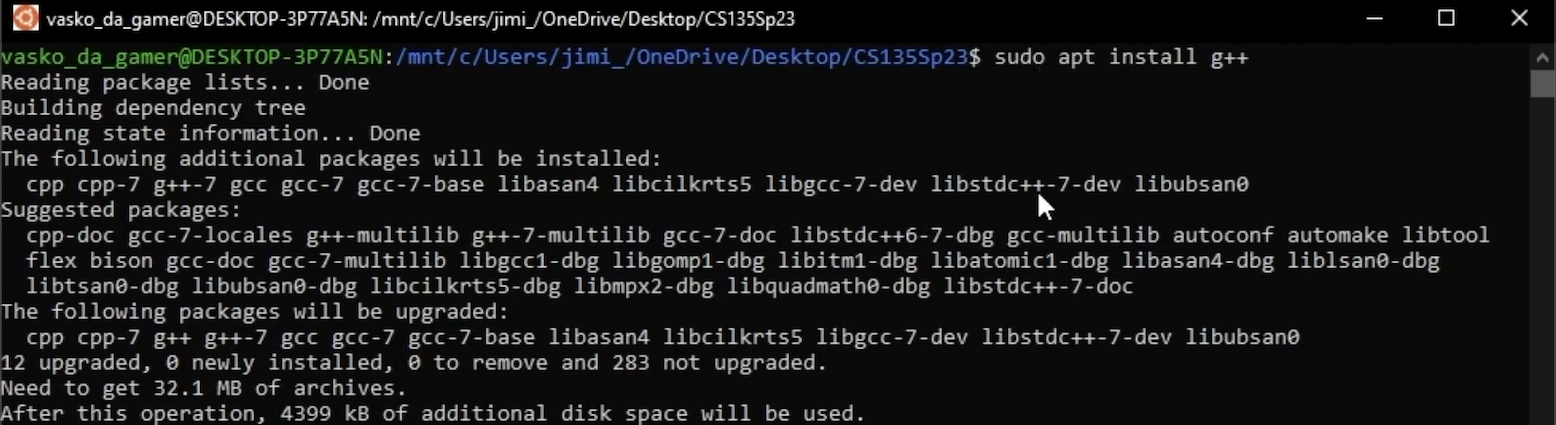
Once installed it can be verified using the command g++ --version which will output a version message (output varies). Once successfully installed the Ubuntu terminal can be closed.
Using the WSL/Compiler In VSC (Windows)
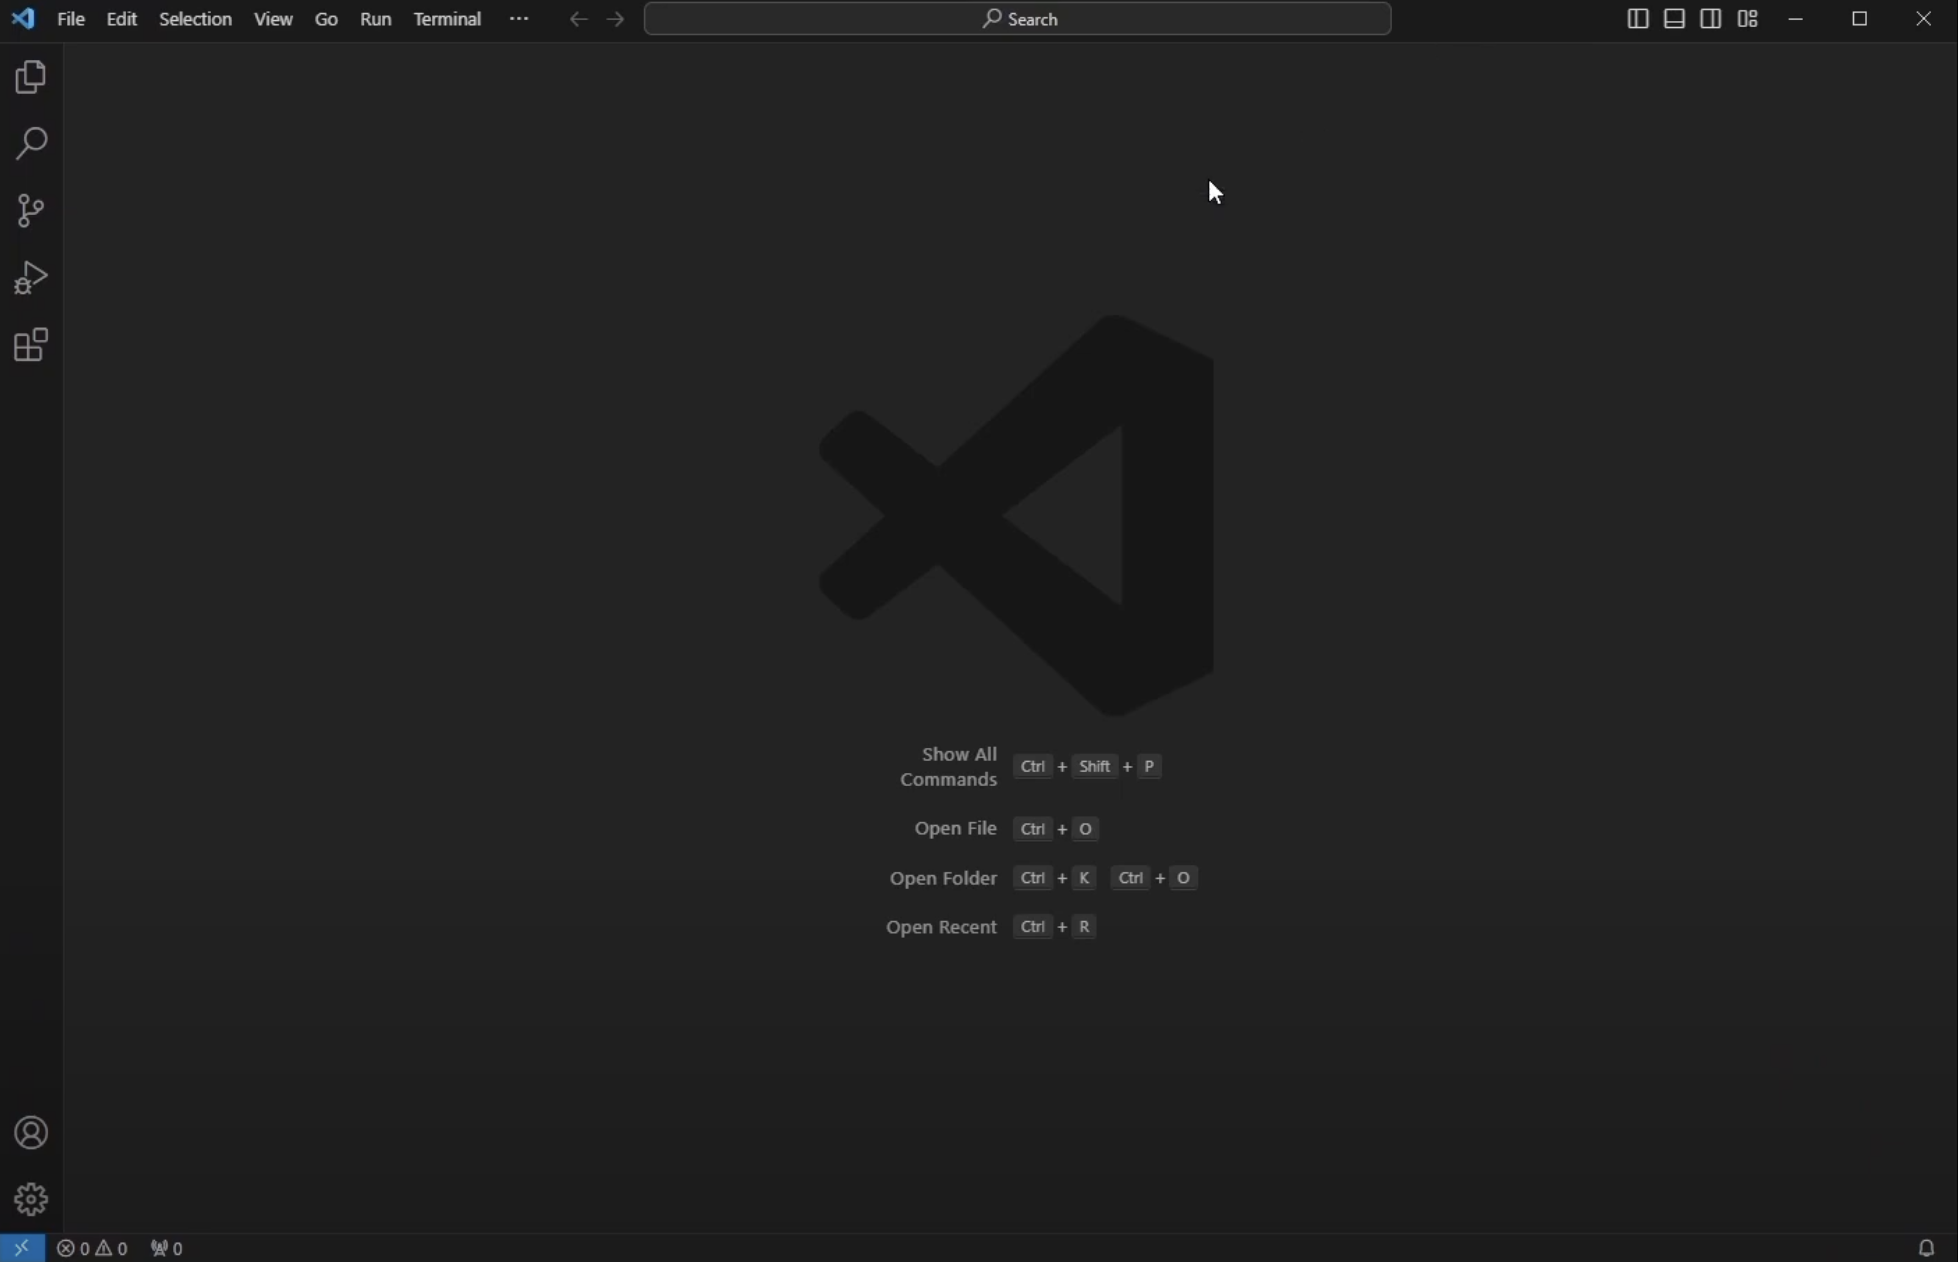
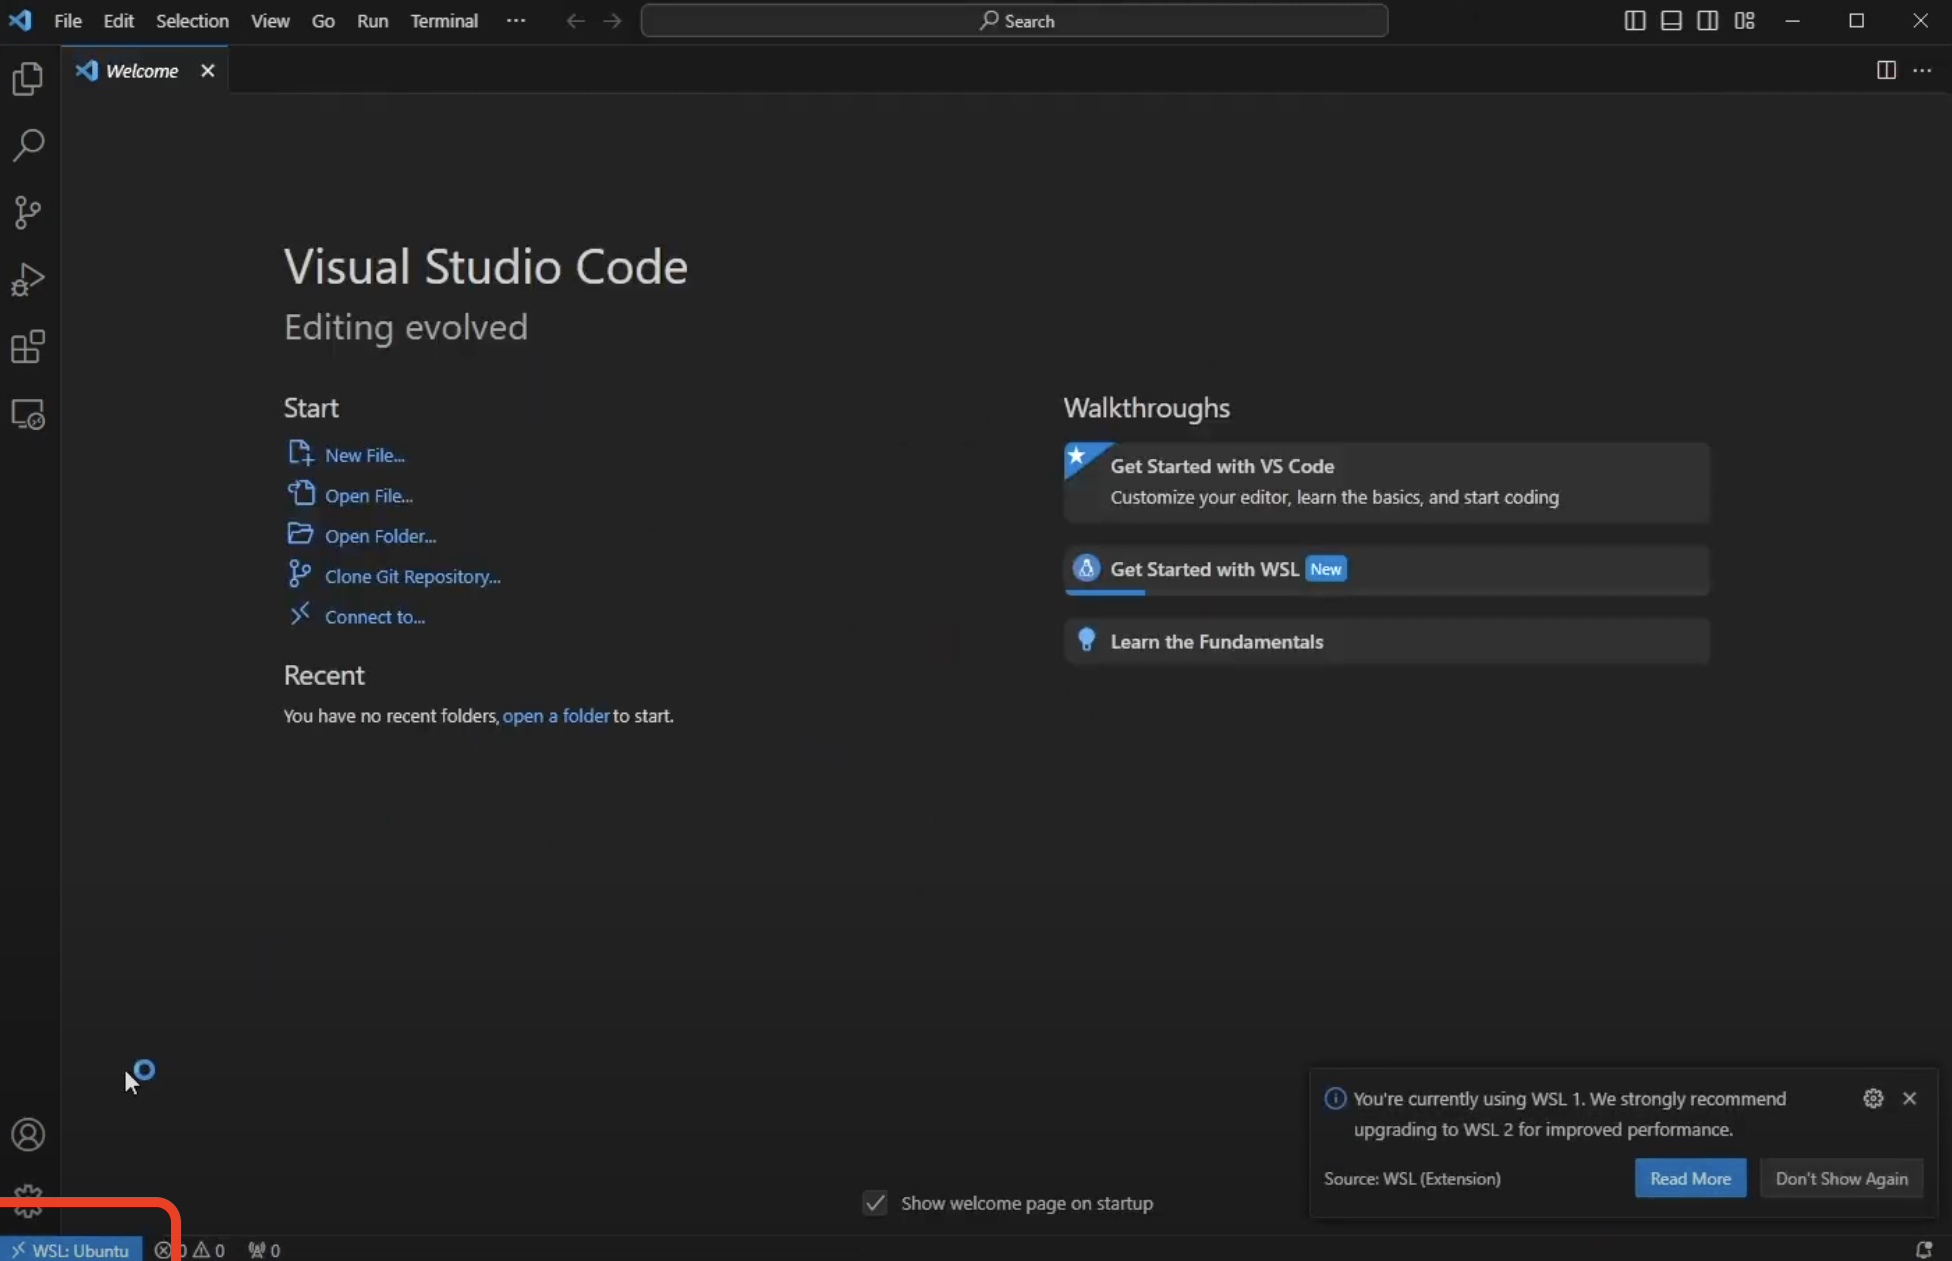
Open a new VSC window:
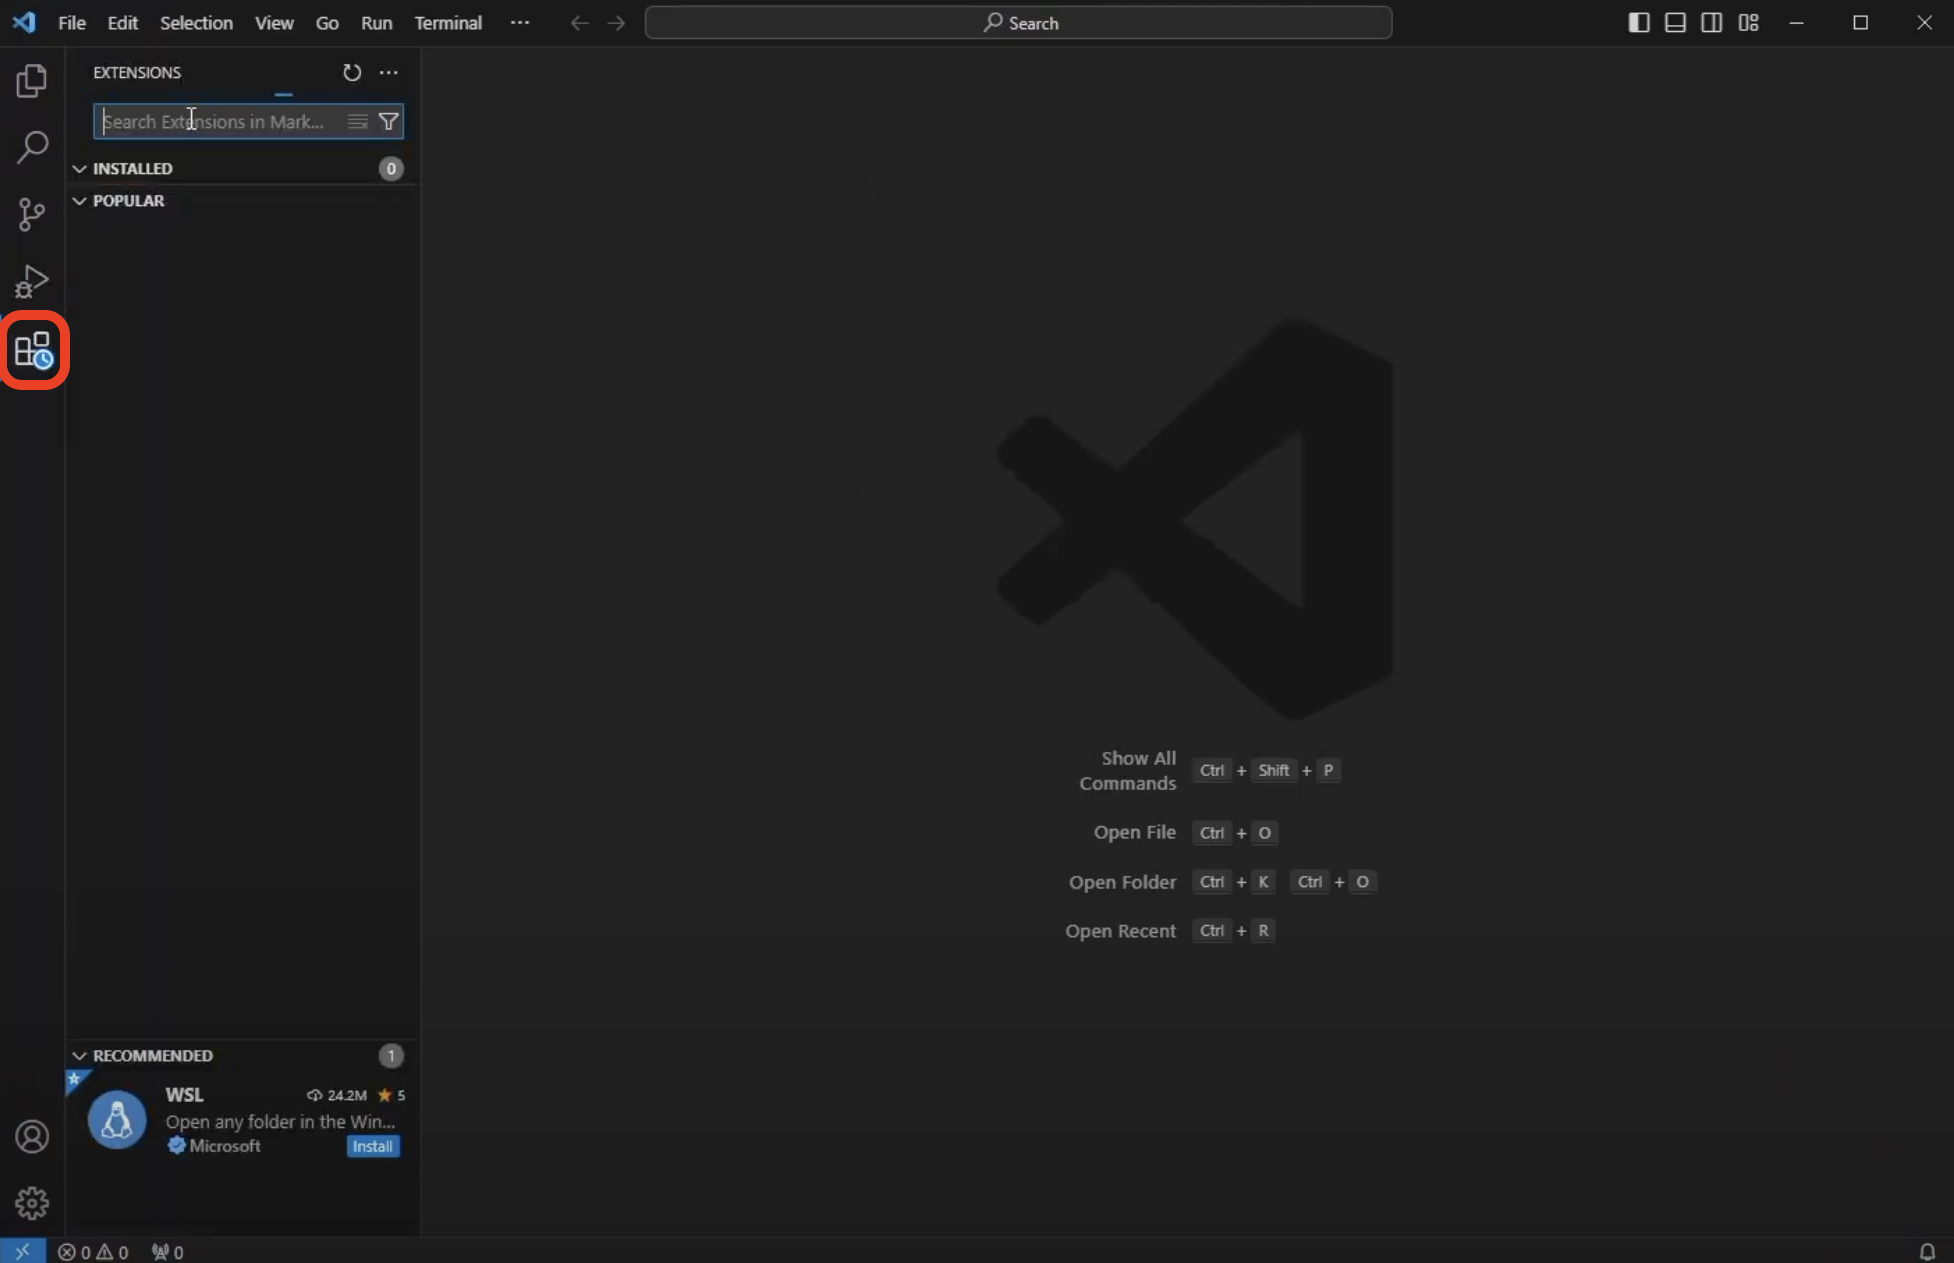
Open the extensions marketplace by clicking the 4 square icon:
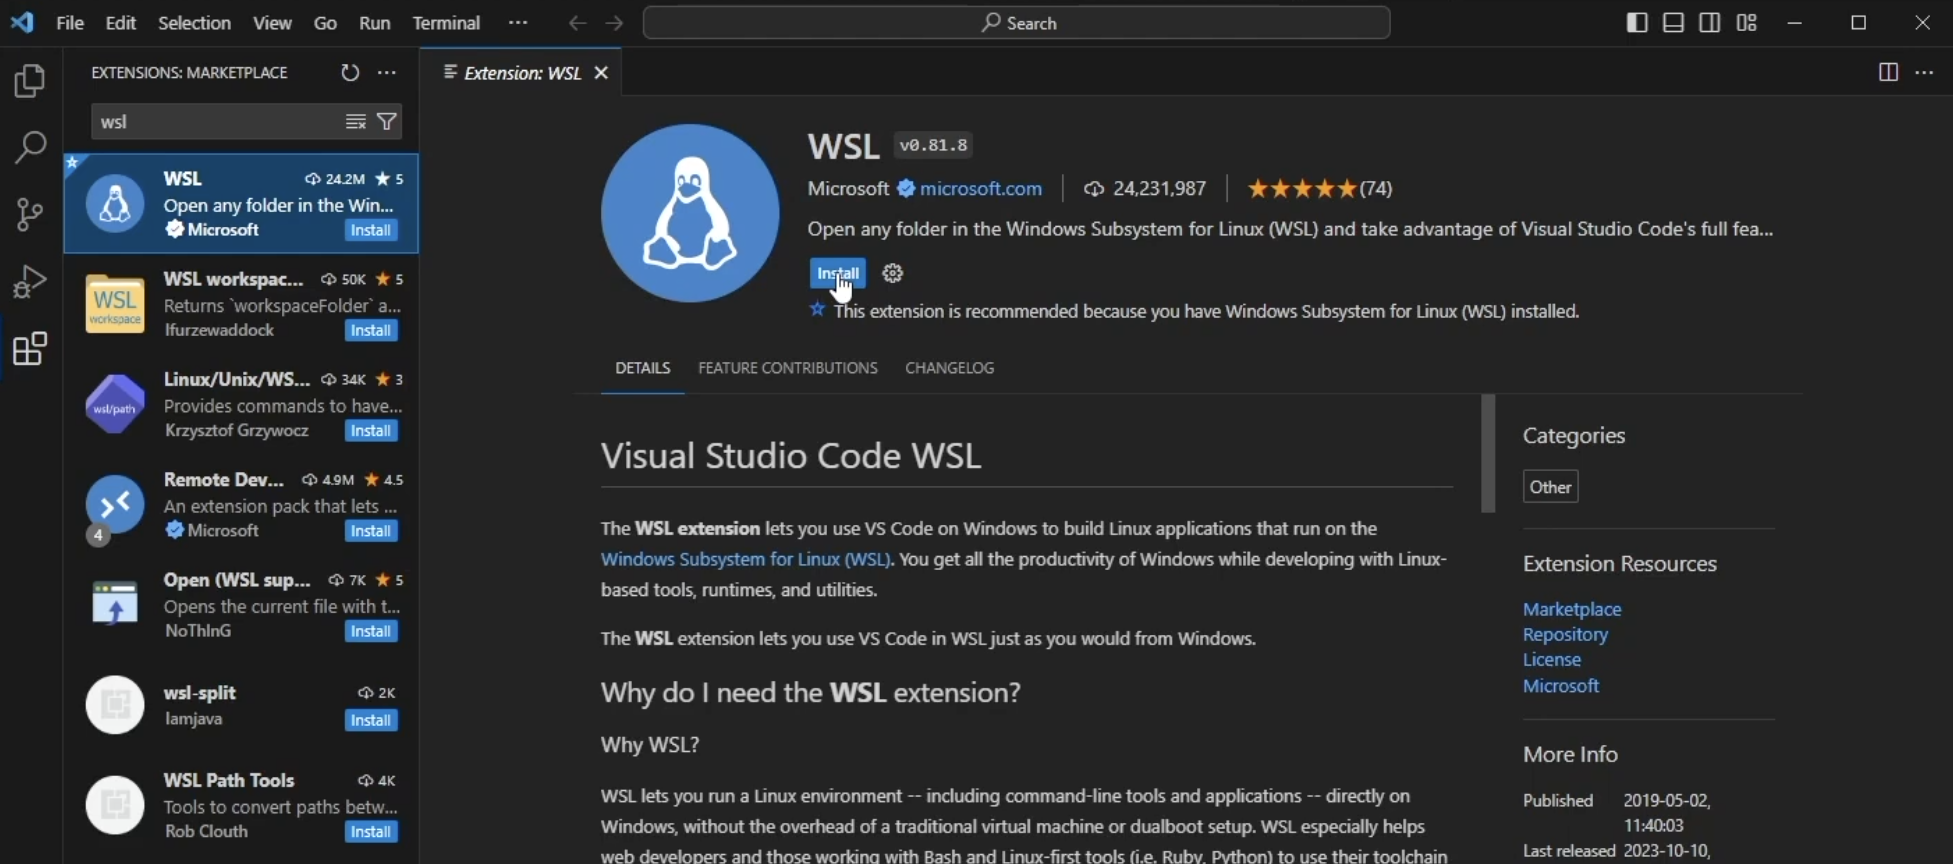
Search for WSL in the search bar and click the first extension made by Microsoft. Install the Extension:
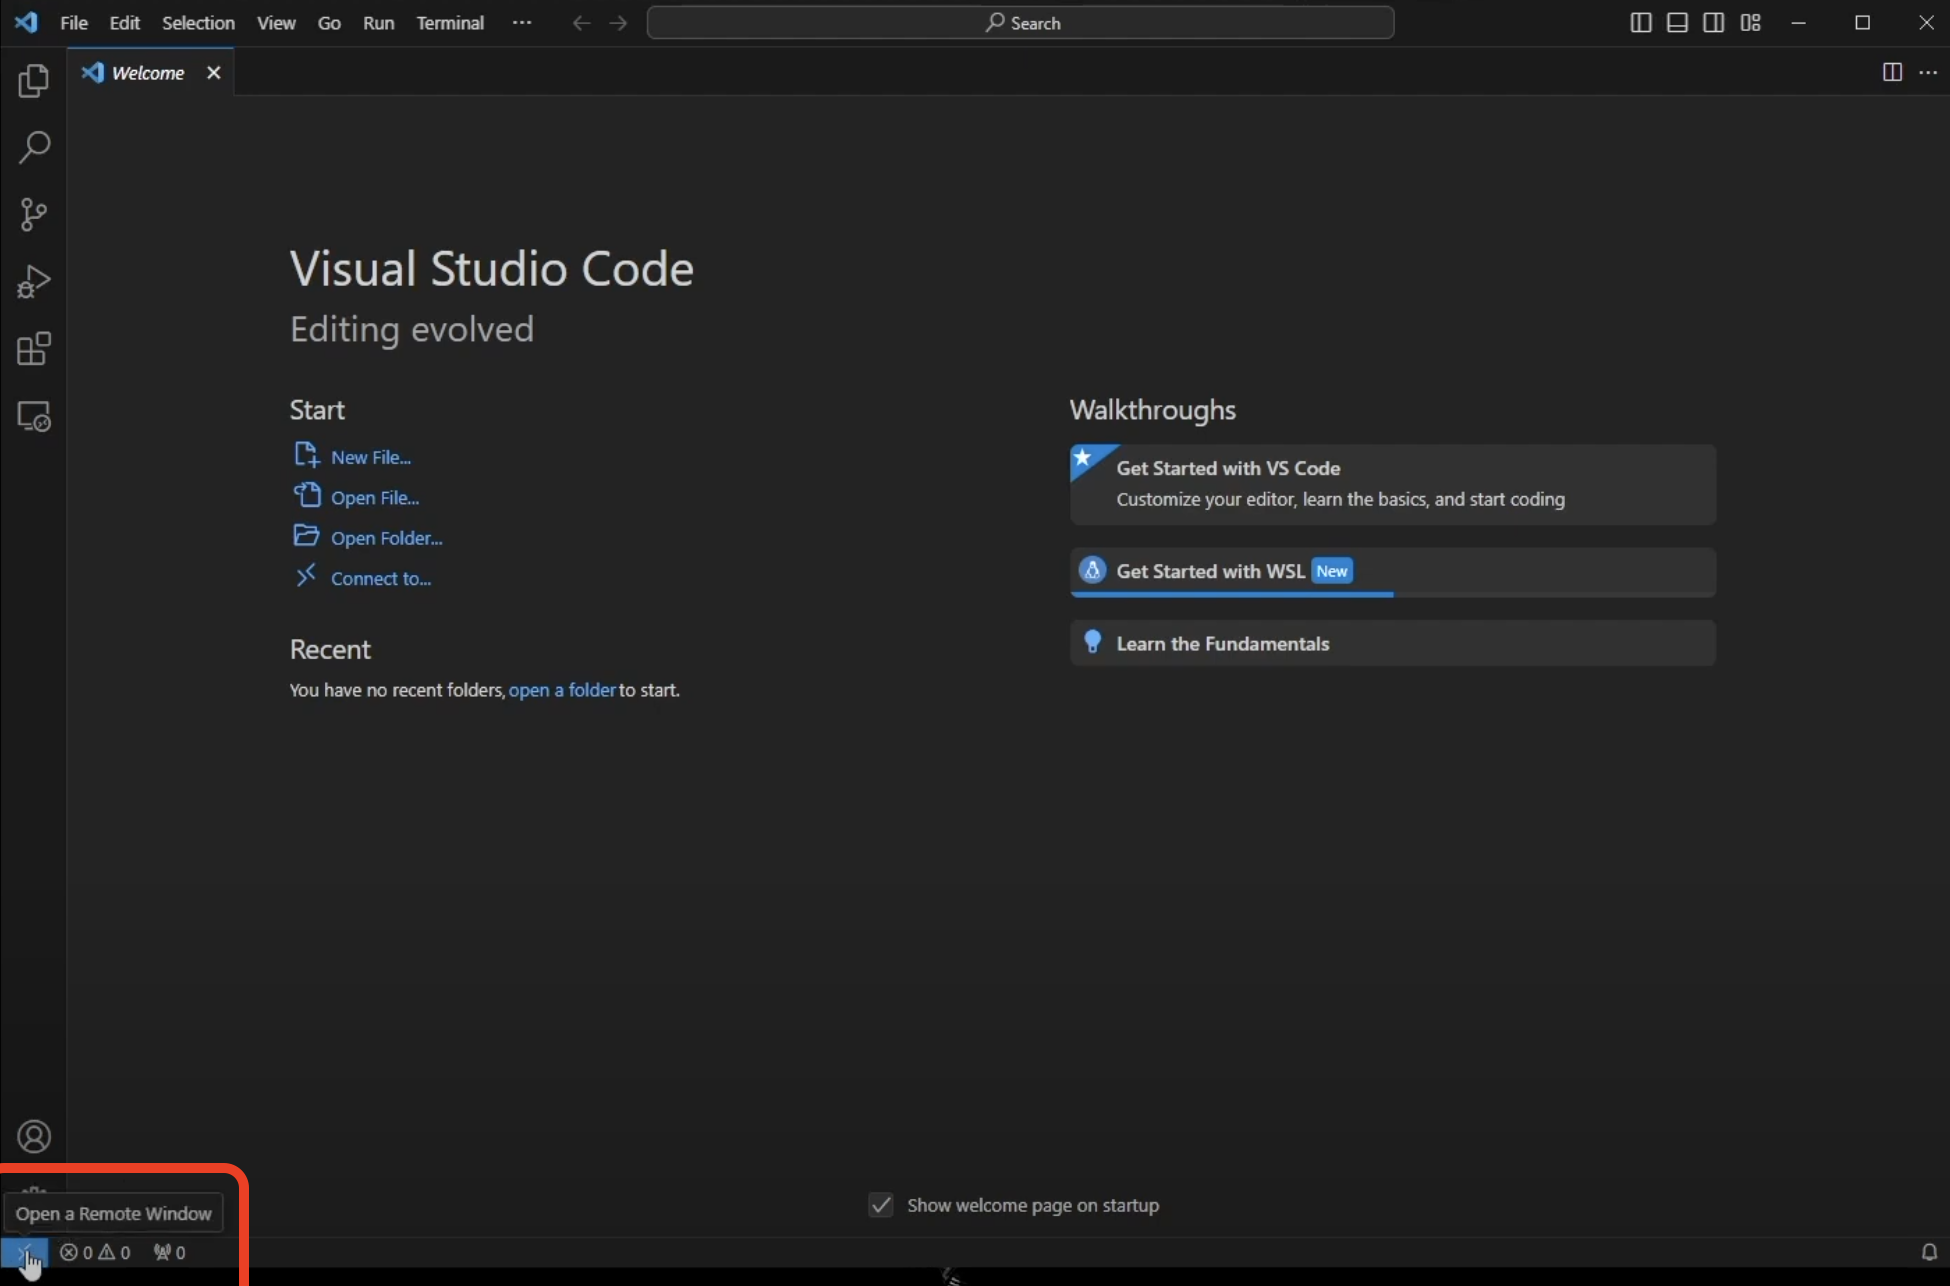
Once the extension is installed the extensions marketplace can be closed. In the lower left corner click the blue button with >< inside of it to connect to a remote window:
In the menu that pops up in the top middle select Connect to WSL:

This will cause a new window to open that is connected to the WSL that was installed previously. Wait for it to say WSL: Ubuntu in the blue box in the lower left corner:
Open a directory into VSC by clicking the two files icon in the top left, then clicking Open Folder and hitting Enter.
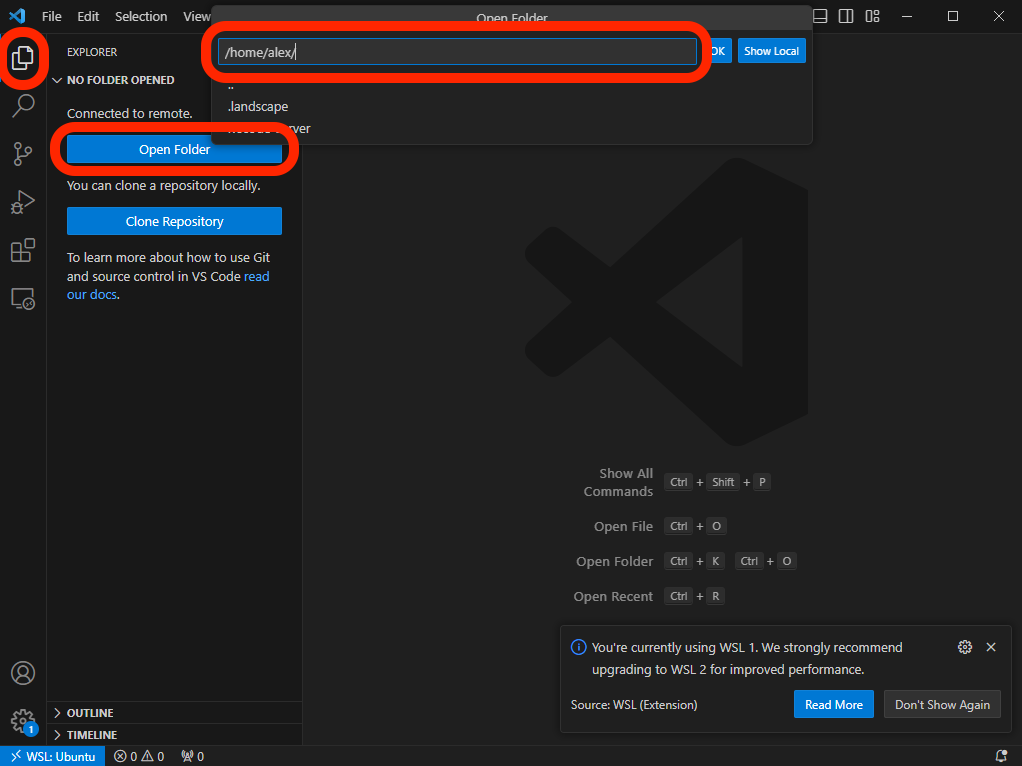
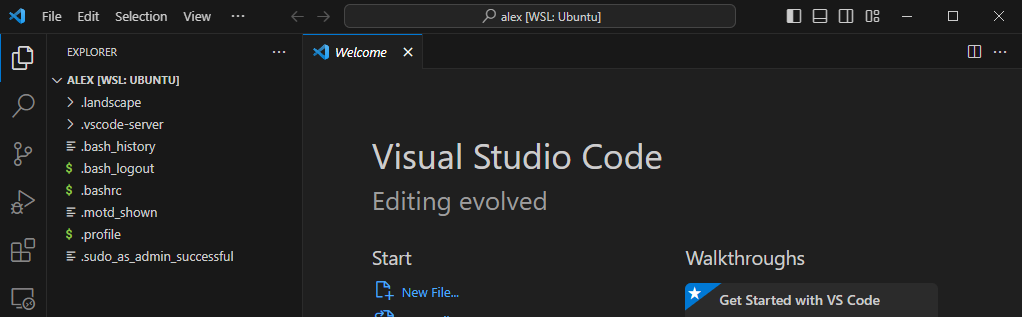
This will open the /home/ directory for the user you created in the VSC:
To navigate to this directory in the Windows file explorer open the explorer and in the sidebar navigate to Linux > Ubuntu > home > username.
In VSC new files and directories can be added to the current working directory using the buttons at the top of the explorer:
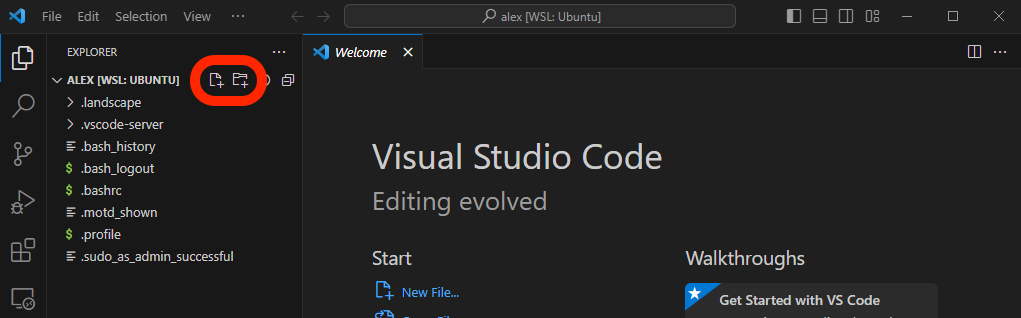
Add a file named main.cpp by clicking the add file button and entering the filename main.cpp:
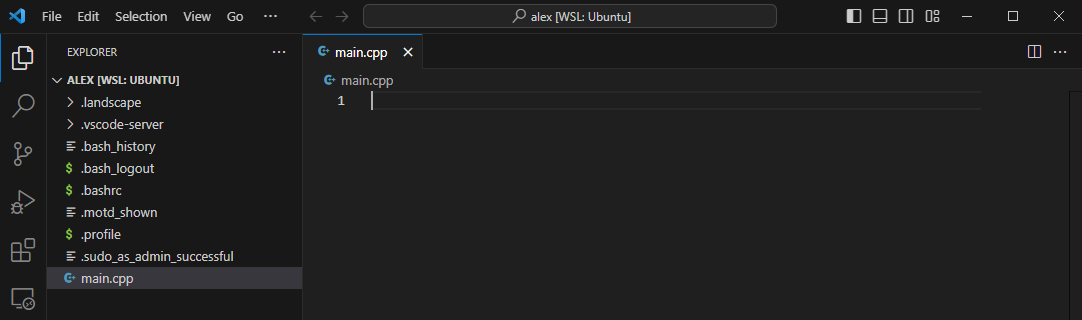
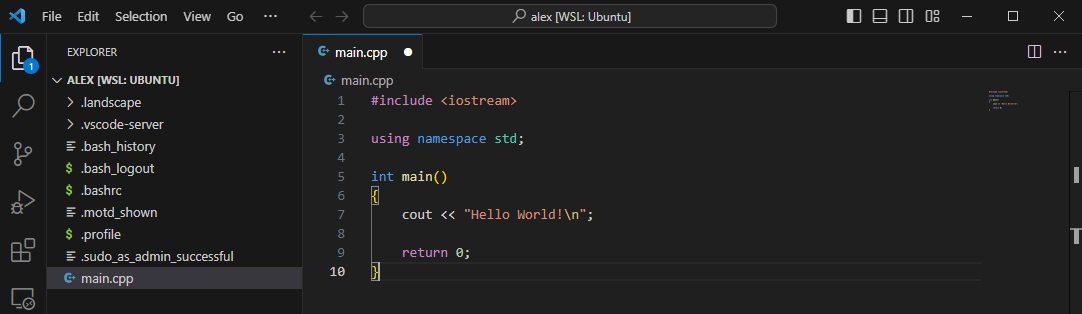
This will create the file and open it in the editor on the right. Add the following code to the file and save the file with command + S:
#include <iostream>

using namespace std;

int main()
{
    cout << "Hello World!\n";

    return 0;
}
In the menu bar click Terminal > New Terminal:
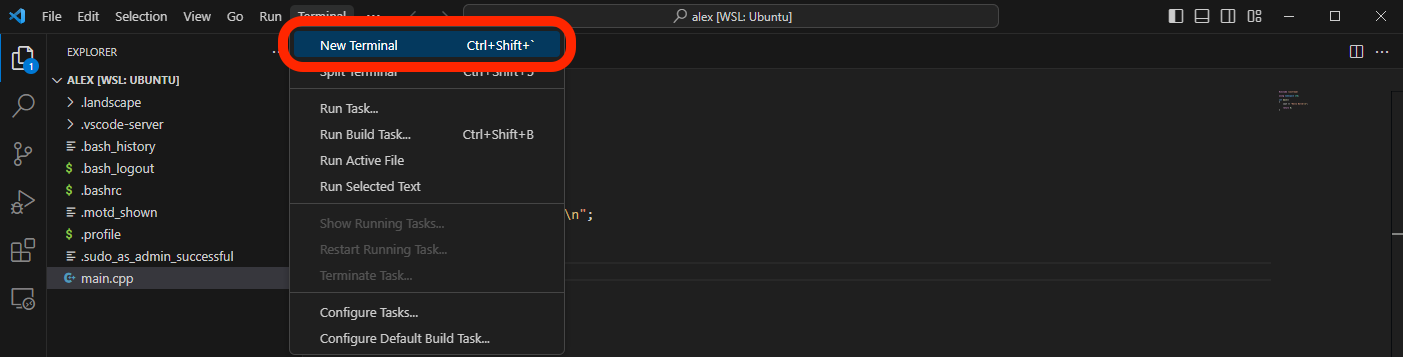
A new WSL window will pop up on the lower portion of the editor. This WSL is the WSL terminal downloaded previously integrated into VSC. The terminal will already be opened at the /home/ directory opened in VSC:
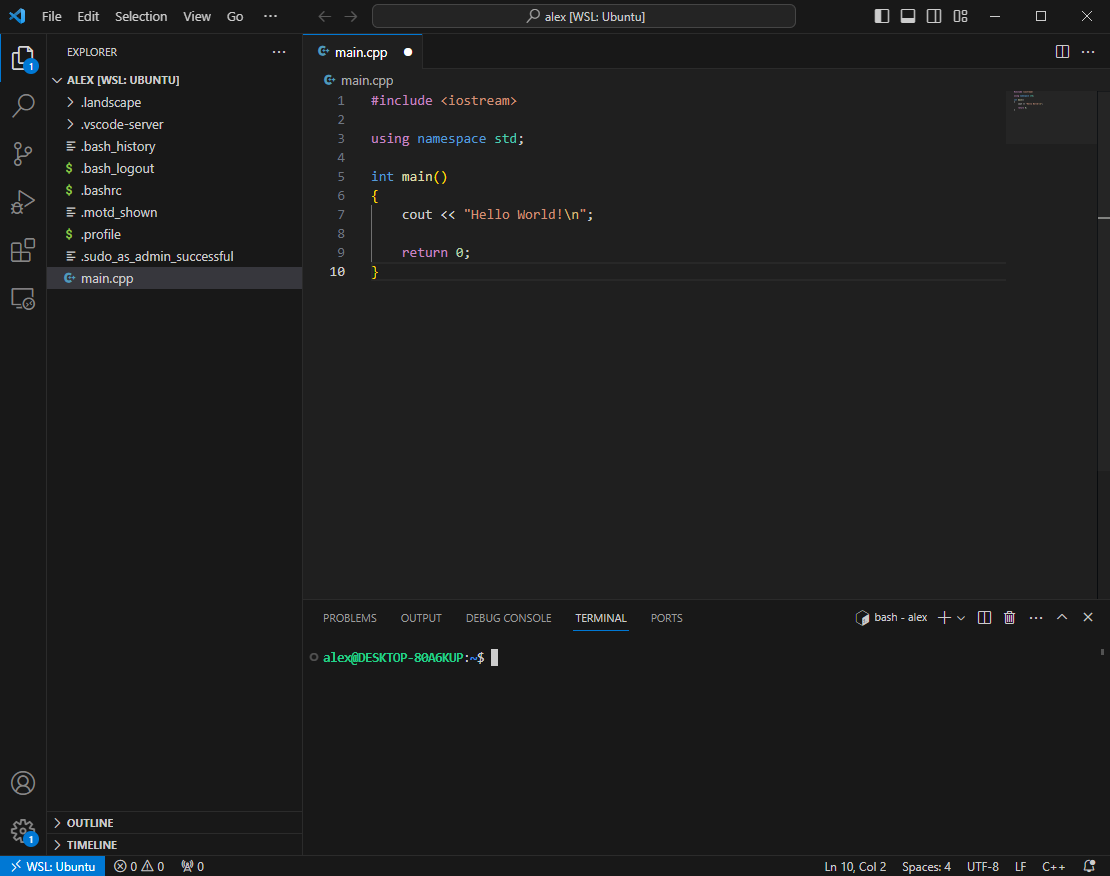
Enter g++ main.cpp, allow the program to compile then enter ./a.out and the program should output:
alex@Desktop % g++ main.cpp
alex@Desktop % ./a.out
Hello World!
alex@Desktop %
WSL Install Errors (Windows)
Many errors can occur when installing the WSL. Here are some of the most common errors and their fixes.
WSL Not Enabled First Time Opening Ubuntu App
Sometimes when the Ubuntu App is first opened the WSL is not properly enabled giving the error:
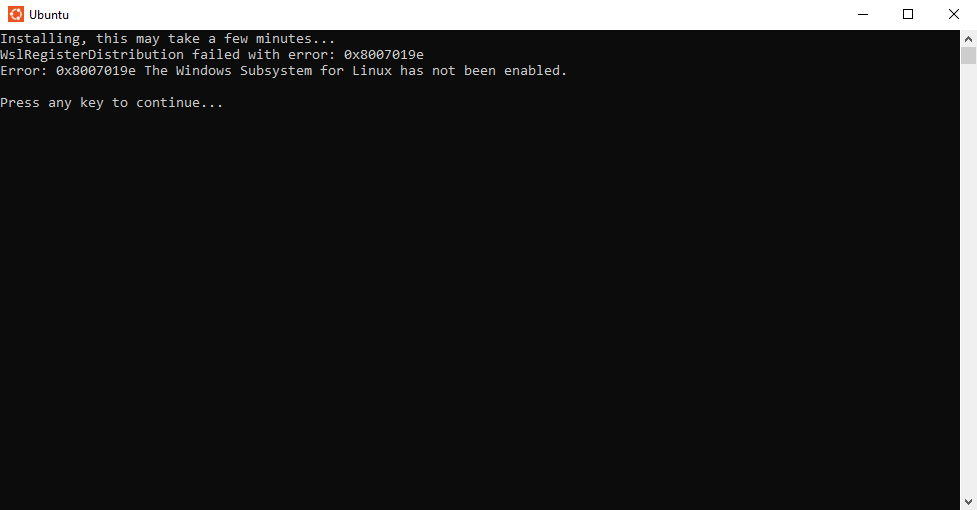
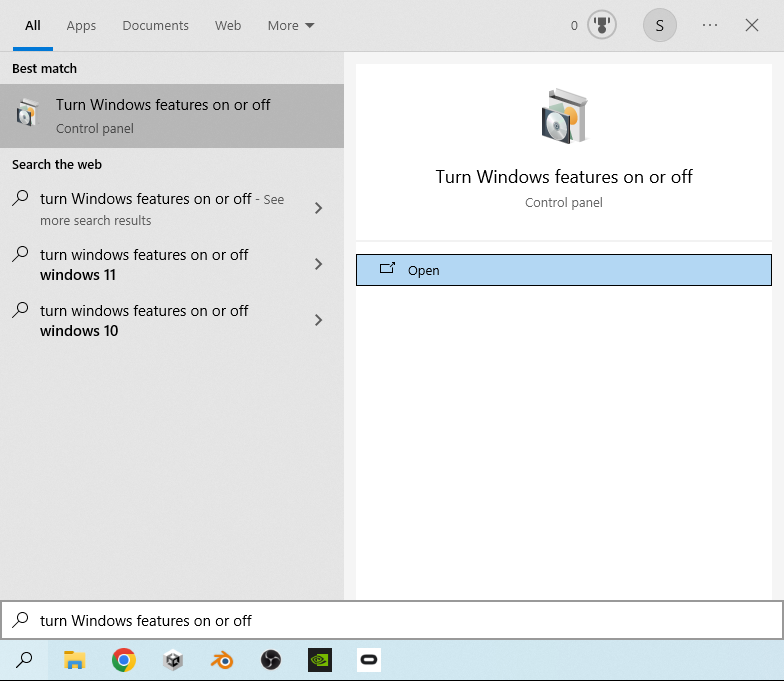
To enable the WSL first open the Windows search using windows + s (or clicking the search icon in the taskbar) and search for Turn Windows Features On or Off:
Open the Turn Windows Features On or Off program, scroll down and find the option for Windows Subsystem for Linux:
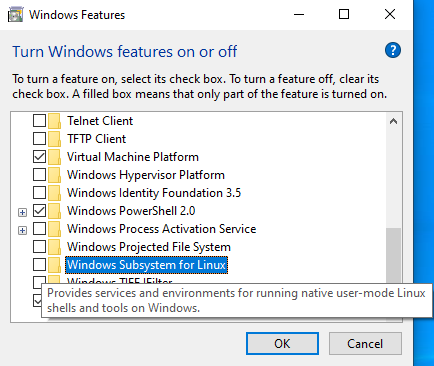
Enable the Windows Subsystem for Linux option using the checkbox:
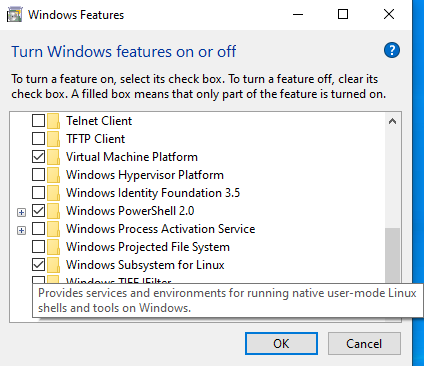
Click OK and confirm the save. When asked to restart click Restart now and your computer will restart:

The computer will restart. Once the restart has concluded the Ubuntu app can be reopened. The Ubuntu app will automatically start installing any necessary tools once it is opened: